Easy Asian Beef Roast
Easy Asian Beef Roast: A Flavor-Packed, Hands-Off Dinner
Introduction
This “Easy Asian Beef Roast” is a masterclass in big flavor with minimal effort. A substantial beef chuck roast is transformed into a tender, savory, and aromatic centerpiece through a few key techniques: a hard sear for depth and a slow braise in a balanced Asian-inspired liquid. The result is fall-apart tender beef with a rich sauce perfect for spooning over rice or noodles. This recipe is ideal for busy weeknights or a relaxed weekend meal, as most of the cooking time is completely unattended. It requires only basic kitchen equipment and simple, accessible ingredients. The method builds layers of flavor through careful browning and a well-composed braising liquid, ensuring a professional-tasting result with straightforward steps.
What You’ll Need
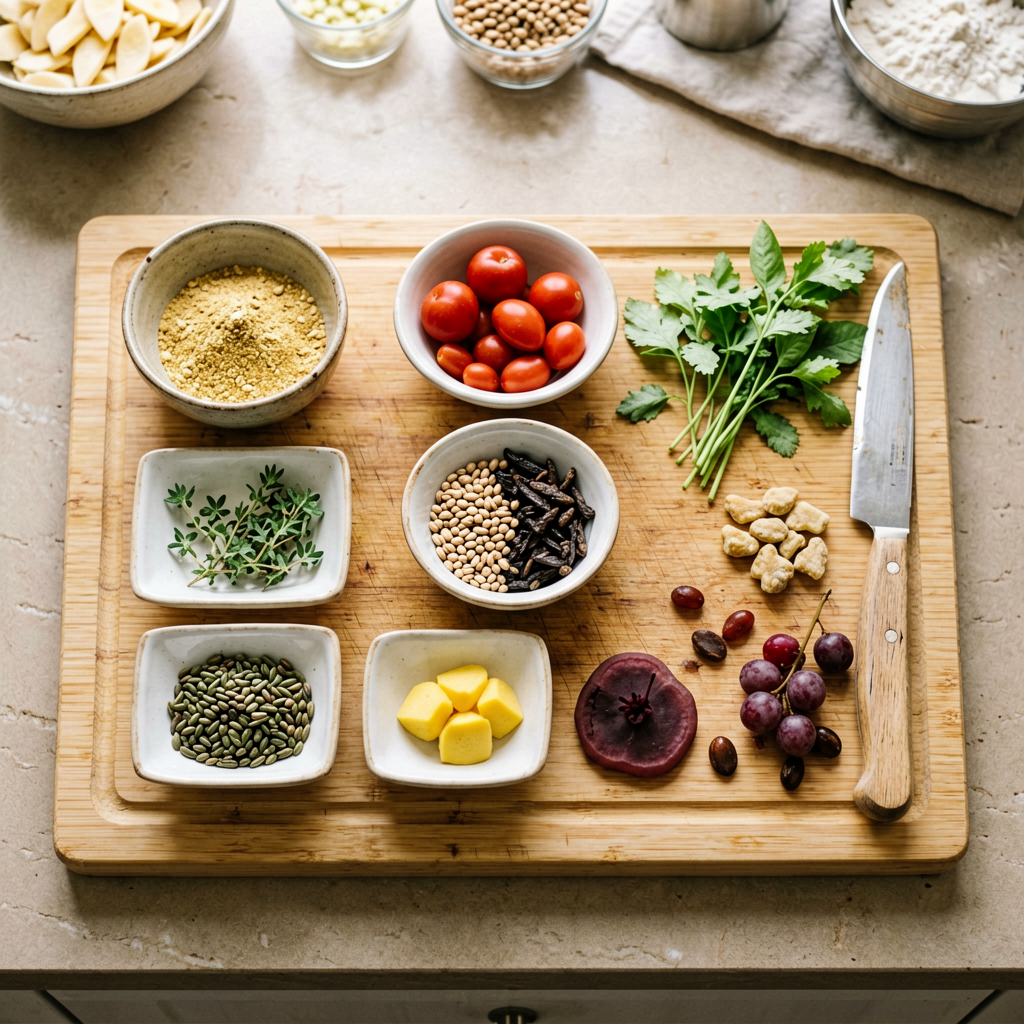
Ingredients
- Beef: 1.5 pounds (about 680g) beef chuck roast, well-marbled, cut into 2-3 large chunks.
- Aromatics: 1 medium yellow onion (sliced into 1/2-inch strips), 4 cloves garlic (minced), 1 inch ginger (peeled and sliced into coins).
- Liquids: 1 cup (240ml) low-sodium beef broth, 1/2 cup (120ml) low-sodium soy sauce, 1/3 cup (80ml) mirin (Japanese sweet rice wine), 2 tablespoons (30ml) rice vinegar.
- Sweetener & Spice: 2 tablespoons (25g) brown sugar, 1 teaspoon red pepper flakes (optional, for mild heat).
- Oil: 2 tablespoons (30ml) neutral high-heat oil (like avocado or canola).
- Finish: 2 teaspoons (6g) cornstarch mixed with 2 tablespoons cold water (slurry), 3 scallions (sliced thinly on a bias for garnish).
Notes: Chuck roast is non-negotiable; its collagen content breaks down into gelatin during braising, creating tender meat and a luscious sauce. A leaner roast will be tough. For the soy sauce, using a low-sodium variety allows you to control the final saltiness.
Equipment
- A heavy-bottomed pot or Dutch oven with a lid (at least 5-quart capacity).
- An instant-read thermometer [Check Price on Amazon].
- Tongs, a cutting board, and a sharp knife.
Prep Work
1. Temper the Beef: Take the beef chuck roast out of the refrigerator 30-60 minutes before cooking. Bringing it closer to room temperature promotes even cooking and a better sear.
2. Pat & Season: Use paper towels to pat the beef chunks completely dry. Moisture is the enemy of a good sear. Season all sides generously with salt and black pepper.
3. Prep Aromatics: Slice your onion, mince garlic, and slice ginger. Keep them organized near the stove—this is your mise en place.
4. Mix Liquids: In a measuring cup or bowl, combine the beef broth, soy sauce, mirin, rice vinegar, brown sugar, and red pepper flakes. Stir until the sugar dissolves. Have this mixture ready to pour.
In my experience, skipping the step of drying the meat thoroughly is the single biggest reason for a gray, steamed-looking roast rather than a deeply browned one. Take the extra minute.
Cooking Instructions
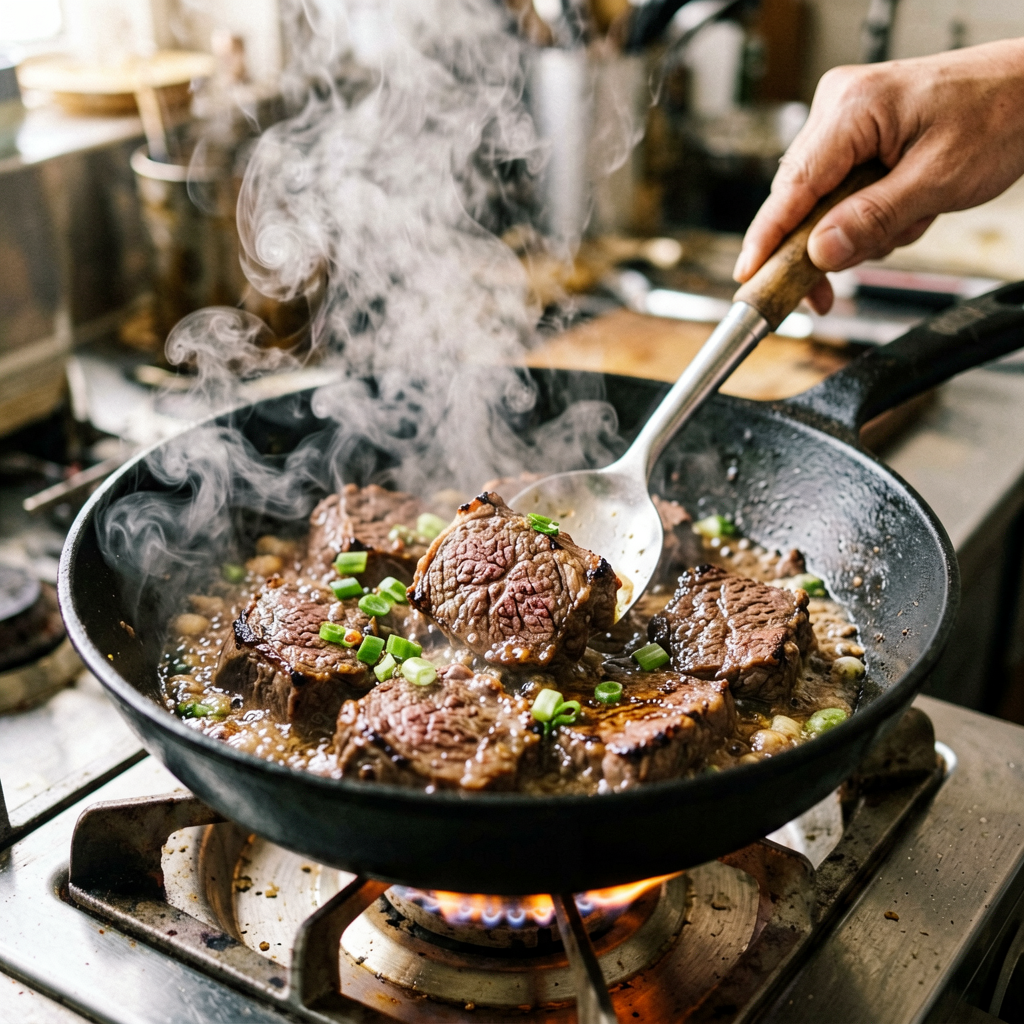
Step 1: Sear the Beef (Critical for Flavor)
Place your pot over medium-high heat. Add the oil. Once the oil shimmers and is just starting to smoke lightly (about 375°F / 190°C), carefully place the beef chunks in the pot. Do not overcrowd; work in batches if necessary. Sear for 3-4 minutes per side, undisturbed. You are looking for a deep, mahogany-colored crust. Listen for an active, steady sizzle; a weak sizzle means your pan isn’t hot enough. Use tongs to sear all sides, including the edges.
Why? This Maillard reaction creates hundreds of new flavor compounds that form the foundation of the entire dish.
Visual Cue: The beef should be deeply browned, not just light tan. Transfer the seared beef to a plate.
Step 2: Build the Flavor Base
Reduce the heat to medium. In the same pot (with all those flavorful browned bits), add the sliced onion. Sauté for 4-5 minutes, stirring occasionally, until softened and lightly browned. Add the garlic and ginger coins, stirring constantly for 1 minute until fragrant. Do not let the garlic burn.
Visual Cue: Onions should be translucent with golden edges; garlic should be sizzling and aromatic.
Step 3: Braise to Tenderness
Pour the prepared braising liquid mixture into the pot. It will bubble vigorously—this is good, it helps deglaze all the flavorful fond from the bottom. Scrape with a wooden spoon. Return the seared beef and any accumulated juices to the pot. The liquid should come about halfway up the sides of the meat.
Bring to a boil, then immediately reduce the heat to the lowest possible setting that maintains a very gentle simmer (small, lazy bubbles). Cover the pot tightly with its lid. Let it simmer for 2.5 to 3 hours.
Key Check: After 2 hours, test the meat with a fork. It should be easily pierced and starting to shred. If it’s still tough, continue cooking in 15-minute increments. The collagen fully breaks down between 195-205°F (90-96°C) internal temperature.
Step 4: Finish the Sauce & Rest
Once the beef is fork-tender, carefully remove it to a cutting board. Tent loosely with foil and let it rest for at least 15 minutes. This allows the juices to redistribute.
Increase the heat under the pot of liquid to medium-high. Bring the sauce to a boil. While whisking, slowly pour in the cornstarch slurry. Continue to boil, whisking frequently, for 2-3 minutes until the sauce thickens enough to coat the back of a spoon. Taste and adjust seasoning if needed (a splash more vinegar for brightness, a pinch of sugar for balance).
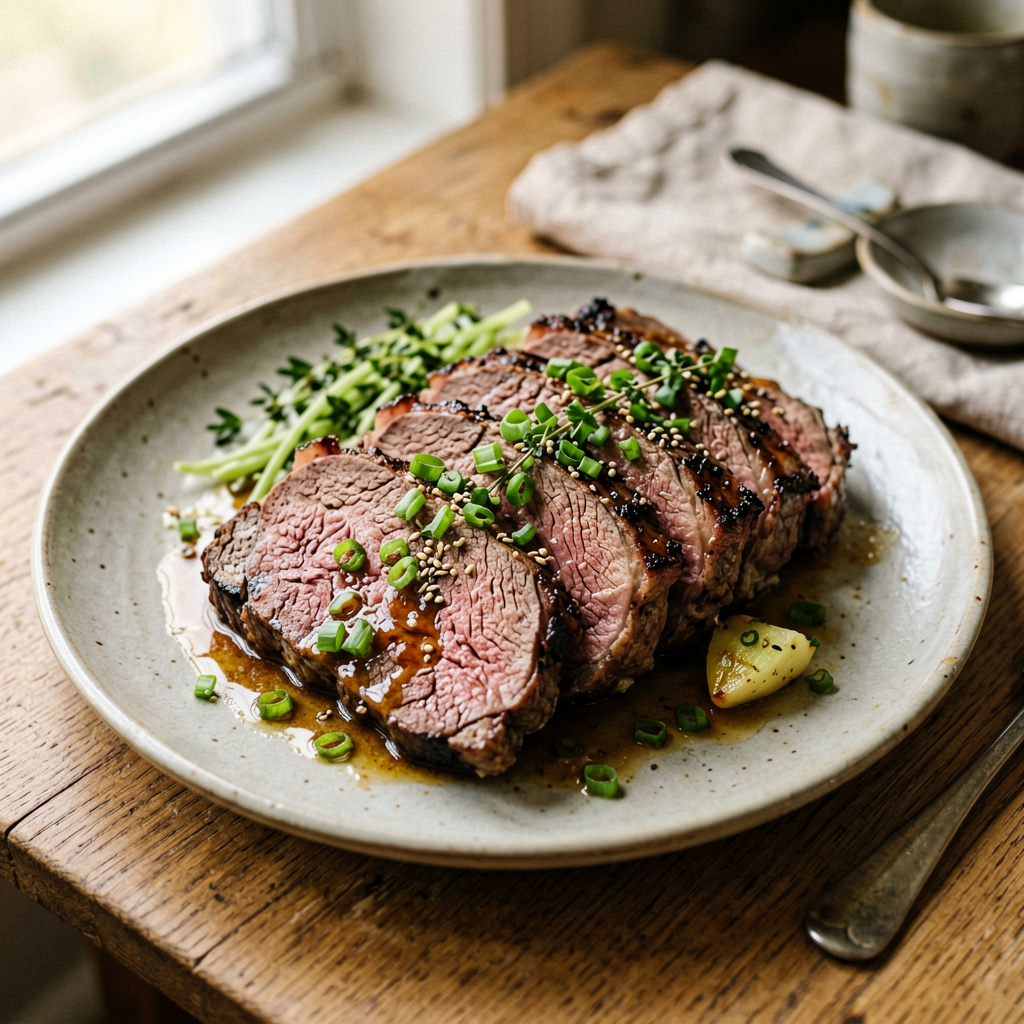
Final Step: After resting, you can either shred the beef with two forks or slice it against the grain into 1/2-inch thick slices. Return the beef to the pot with the thickened sauce, gently tossing to coat. Let it warm through for 2-3 minutes.
Pro Tips
- Browning is Everything: Do not rush the sear. The depth of flavor in the final dish is directly proportional to the color of the crust you achieve in Step 1.
- The Simmer, Not the Boil: A hard boil will make the beef tough and stringy. You want barely perceptible bubbles. This gentle heat is what allows the connective tissue to melt into gelatin without seizing the muscle fibers.
- Substitutions: No mirin? Use an equal amount of white wine with an extra tablespoon of sugar. Beef broth can be swapped for mushroom broth for a slightly different earthy note.
- Make-Ahead: This roast tastes even better the next day. Cool, store in an airtight container in the fridge for up to 3 days. Reheat gently on the stove with a splash of water. It also freezes beautifully for up to 3 months.
Serving Suggestions
This roast is rich and saucy, so serve it over something that can absorb the liquid. A bed of steamed jasmine rice is classic. For a heartier meal, use fluffy mashed potatoes or creamy polenta. Noodles, like udon or lo mein, are also an excellent pairing. Garnish generously with the sliced scallions for a fresh, sharp contrast. A side of simple, crisp-steamed green vegetables like bok choy or broccoli balances the plate perfectly.
Portion Guidance: Serves 4 people generously with sauce. Each serving is approximately 6-8 ounces of cooked beef.
FAQ
1. Can I use frozen beef chuck roast?
You can, but for the best sear and even cooking, it’s strongly recommended to thaw it fully in the refrigerator over 24-48 hours. Searing a frozen or partially frozen roast will result in uneven browning and a grey exterior. If you must use it frozen, extend the total braising time by approximately 45-60 minutes.
2. How do I know when the beef is done?
The ultimate test is texture, not just time. A fork should slide into the thickest part of the meat with little to no resistance. If you have an instant-read thermometer, the internal temperature should be at least 195°F (90°C), but ideally between 200-205°F (93-96°C) for maximum tenderness and collagen breakdown. It will pull apart easily when it’s ready.
3. Can I prep this ahead for a party?
Absolutely. You can complete the entire braise (through Step 3) up to 2 days in advance. Cool the beef in its liquid, then refrigerate. When ready to serve, gently reheat on the stovetop, then proceed with Step 4 to shred/slice the beef and thicken the sauce. The sauce will gel when cold; it will melt back into a liquid as you reheat.
*As an Amazon Associate I earn from qualifying purchases.*