One-Pan Chicken Soup with Lemon Herb
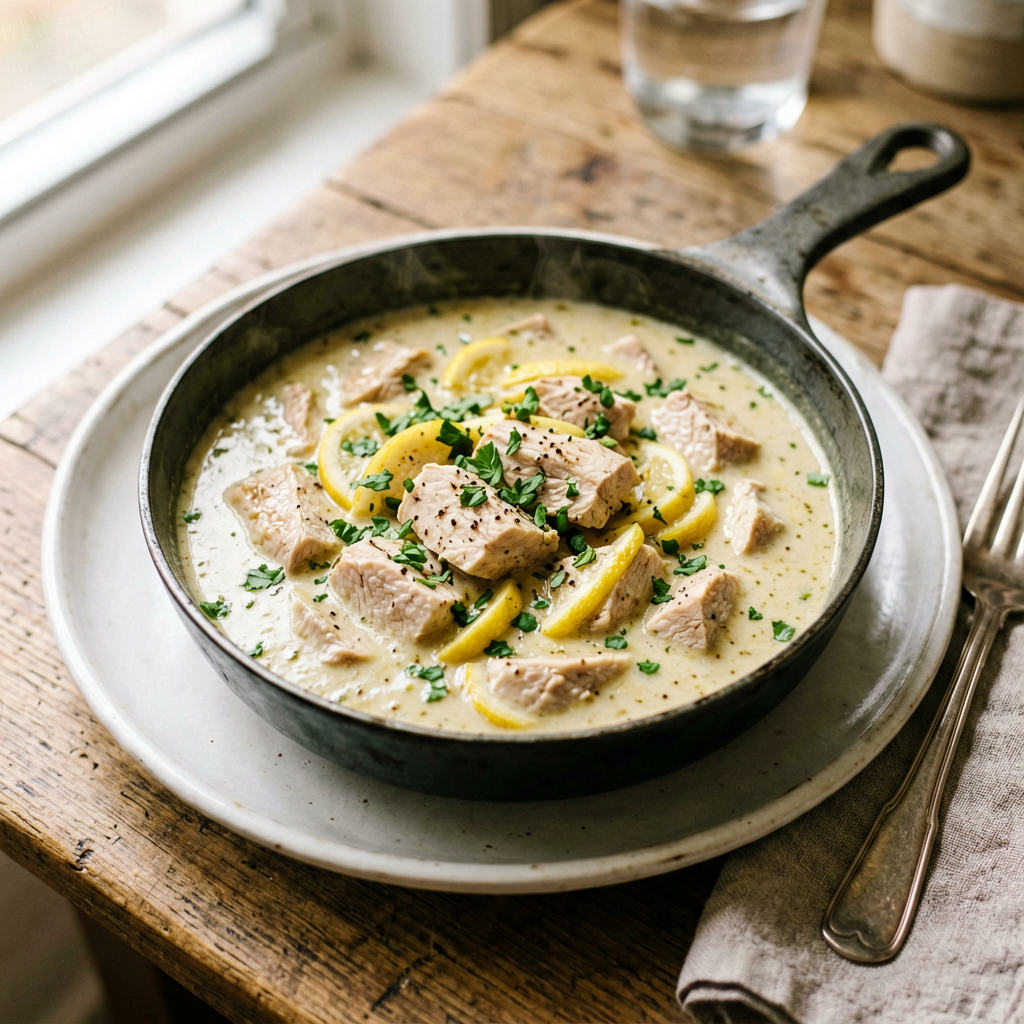
One-Pan Chicken Soup with Lemon Herb: A Recipe for Bright, Clean Flavor
This one-pan chicken soup is a study in efficient, flavor-focused cooking. It delivers a rich, aromatic broth with tender, perfectly cooked chicken, all without a pile of dishes. The magic lies in building flavor in layers within a single vessel: first, developing a deep fond by searing the chicken, then sweating the vegetables in that flavorful fat, and finally, simmering everything together. The fresh lemon and herbs are added at the very end to preserve their vibrant, clean notes. This is an accessible yet impressive recipe for any skill level, emphasizing foundational techniques that yield professional results.
What You’ll Need
Ingredients
- Chicken: 4 bone-in, skin-on chicken thighs (about 1.5 pounds total). Skin-on is non-negotiable for flavor and fat.
- Aromatics: 1 medium yellow onion (about 8oz), 2 medium carrots (about 6oz total), 2 celery stalks (about 4oz total).
- Garlic: 4 cloves, minced.
- Herbs: 3 sprigs fresh thyme, 2 sprigs fresh rosemary, 1/4 cup fresh parsley, finely chopped.
- Liquid: 6 cups low-sodium chicken broth. High-quality broth is crucial.
- Citrus: 1 large lemon. Zest it before juicing; you’ll use both.
- Fat: 2 tablespoons extra virgin olive oil, divided.
- Seasoning: 1.5 teaspoons kosher salt, 1/2 teaspoon black pepper, plus more to taste.
Equipment
- 12-inch cast iron skillet or heavy-bottomed sauté pan with a lid. A heavy pan retains heat evenly for a superior sear and consistent simmer. [Check Price on Amazon]
- Sharp chef’s knife and cutting board.
- Instant-read thermometer (highly recommended for perfect chicken). [Check Price on Amazon]
- Wooden spoon or spatula.
- Microplane or zester.
- Citrus juicer (optional).
Prep Work (Mise en Place)
Proper preparation ensures smooth, efficient cooking. Have everything ready before you turn on the heat.
- Chicken: Pat the chicken thighs thoroughly dry with paper towels. This is critical for a good sear. Season both sides generously with 1 teaspoon kosher salt and the black pepper.
- Vegetables: Dice the onion, carrots, and celery into a uniform 1/4-inch dice (a mirepoix). This ensures they cook evenly.
- Garlic & Herbs: Mince the garlic. Strip the leaves from the thyme sprigs; discard the woody stems. Finely chop the parsley. Set aside.
- Lemon: Using a Microplane, zest the entire lemon. Then, juice it and set the juice (about 3 tablespoons) aside separately.
Cooking Instructions
Step 1: Sear the Chicken (8-10 minutes)
Heat 1.5 tablespoons of olive oil in your 12-inch skillet over medium-high heat. The oil should shimmer and flow easily. Carefully place the chicken thighs skin-side down. Do not move them. Let them sear for 5-6 minutes until the skin is deep golden brown and crisp. You should hear a consistent, gentle sizzle. Flip and sear the other side for 3-4 minutes. The chicken will not be cooked through. Transfer the chicken to a plate.
Step 2: Build the Flavor Base (5-6 minutes)
Reduce the heat to medium. There should be rendered chicken fat in the pan; add the remaining 0.5 tablespoon of olive oil if needed. Add the diced onion, carrots, and celery. Cook, stirring occasionally, for 5-6 minutes until the vegetables have softened and the onion is translucent. This sweating process releases their sweetness. Add the minced garlic and thyme leaves. Cook for just 1 minute until fragrant—garlic burns easily.
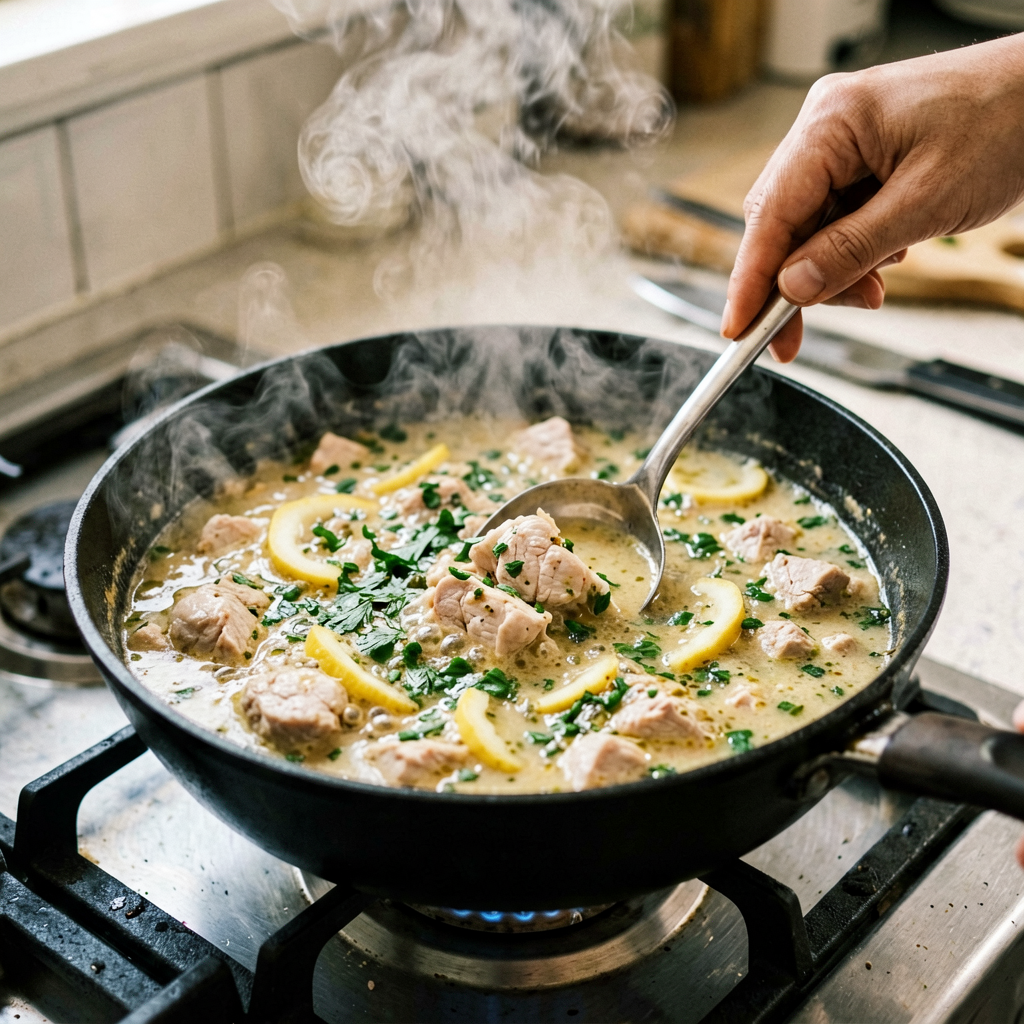
Step 3: Simmer the Soup (20-25 minutes)
Pour in the entire 6 cups of chicken broth. Add the lemon zest, rosemary sprigs, and the remaining 0.5 teaspoon of kosher salt. Use a wooden spoon to scrape up any browned bits (fond) from the bottom of the pan. This is concentrated flavor. Bring the liquid to a boil, then immediately reduce the heat to low. Return the chicken thighs (and any juices from the plate) to the pan, nestling them into the broth. The liquid should bubble gently (a bare simmer), not boil. Cover the pan and simmer for 20-25 minutes.
Step 4: Final Touches (5 minutes)
After simmering, the chicken should be tender and the internal temperature, checked with an instant-read thermometer, should read 165°F / 74°C. Carefully remove the chicken thighs to a cutting board. Remove and discard the rosemary sprigs. Stir in the fresh lemon juice and chopped parsley. Taste the broth—it will likely need another pinch of salt or pepper to balance the flavors. If the chicken is bone-in, you can shred the meat off the bones and return it to the pot, or serve the thighs whole.
Pro Tips
- The Sear is Everything: I cannot overstate the importance of a properly dried and seasoned chicken thigh seared in a hot pan. Those crispy brown bits on the skin and the fond at the bottom of the pan are the foundation of your soup’s flavor.
- Low and Slow Simmer: A vigorous boil will make the chicken tough and cloudy the broth. You want gentle bubbles—a simmer is your target. This keeps the meat tender and the broth clear.
- Brighten at the End: Always add delicate herbs (parsley) and citrus juice at the very end of cooking. Prolonged heat will destroy their fresh, bright character, turning them bitter or dull.
Serving Suggestions
For a complete meal, serve the soup in deep bowls with the chicken thigh on top. Pair with crusty sourdough bread for dipping or a simple side salad with a lemony vinaigrette. This recipe yields 4 generous main-course portions.
FAQ
Q: Can I use boneless, skinless chicken breasts?
A: You can, but you’ll sacrifice flavor and moisture. If you do, sear for just 2 minutes per side, then simmer for only 10-12 minutes after returning to the broth. Breast meat is done at 165°F / 74°C but is very prone to overcooking.
Q: How do I know when the soup is perfectly done?
A: Two key indicators: 1) The chicken thigh reaches an internal temperature of 165°F / 74°C, and 2) The vegetables are tender but not mushy. The broth should be flavorful and aromatic after simmering.
Q: Can I prep this ahead?
A: Absolutely. You can complete the entire recipe (steps 1-3), let it cool, and refrigerate for up to 2 days. To serve, reheat gently over medium-low heat until hot, then proceed with step 4. In my experience, the flavors meld beautifully overnight.
*As an Amazon Associate I earn from qualifying purchases.*