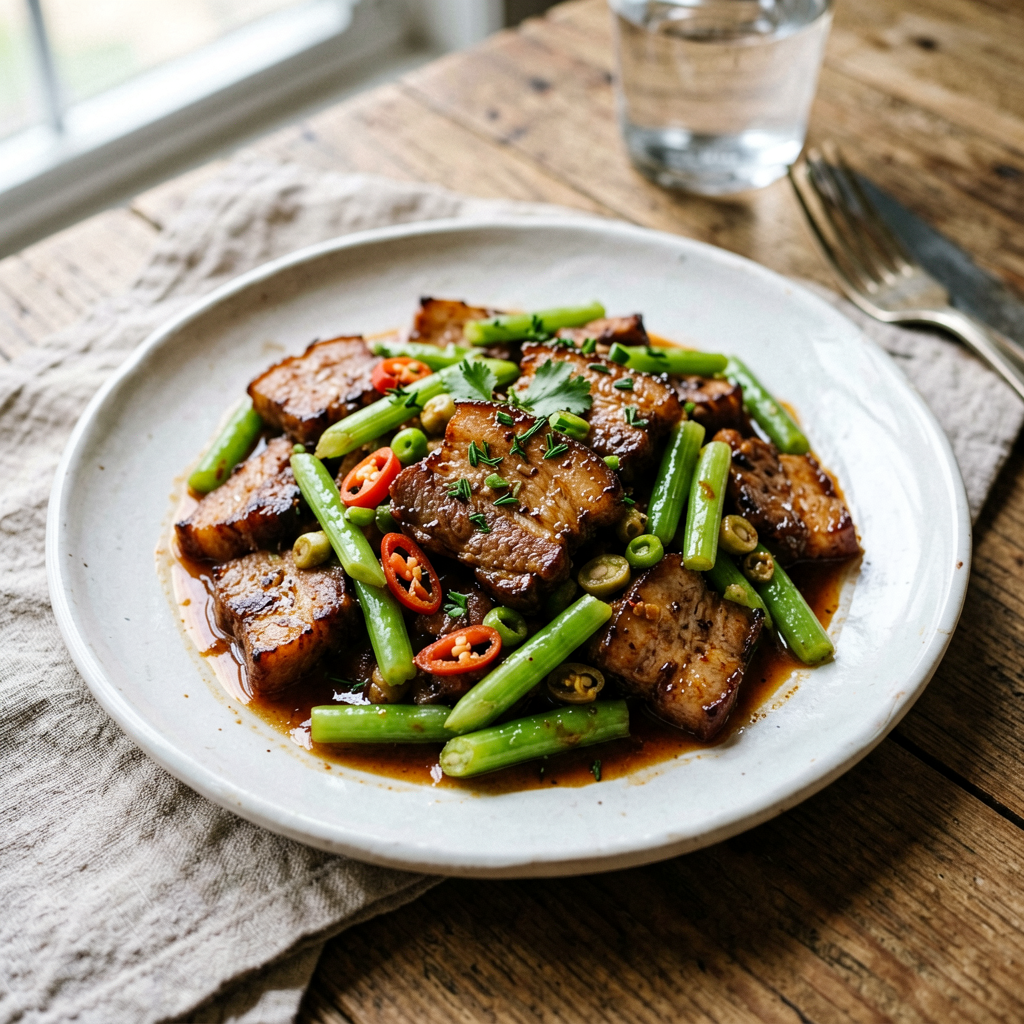
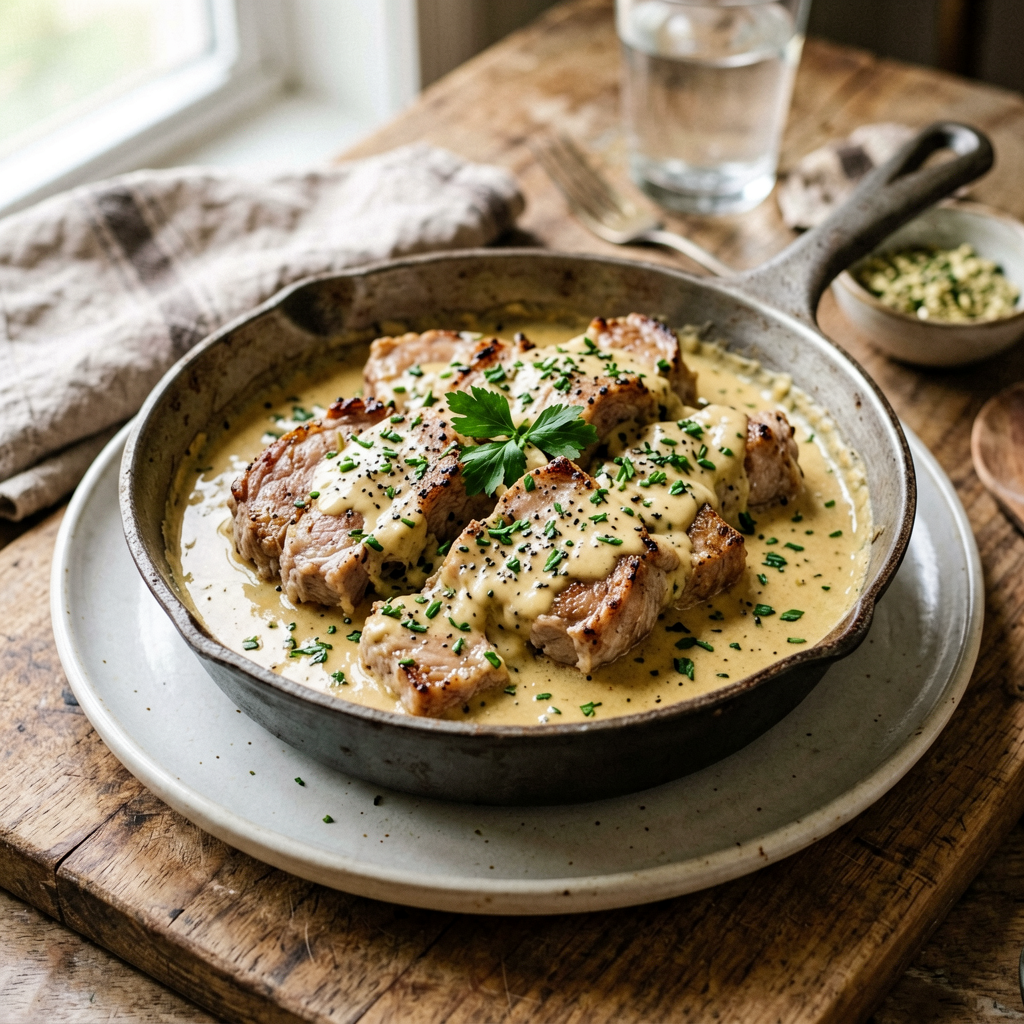
Low-Carb Pork Skillet with Creamy Garlic Sauce
This recipe is the definition of a practical, weeknight-friendly skillet meal that doesn’t sacrifice flavor for speed. We’re using thick-cut pork chops, searing them to develop a rich, golden crust, and then building a luxurious, creamy garlic pan sauce in the same vessel. The technique is straightforward, but the details—proper searing temperature, resting the meat, and reducing the sauce correctly—are what separate a good meal from a great one. This is an excellent recipe for beginner to intermediate home cooks looking to master foundational skillet techniques. The low-carb profile makes it a satisfying choice for those following specific dietary plans without feeling like a compromise.
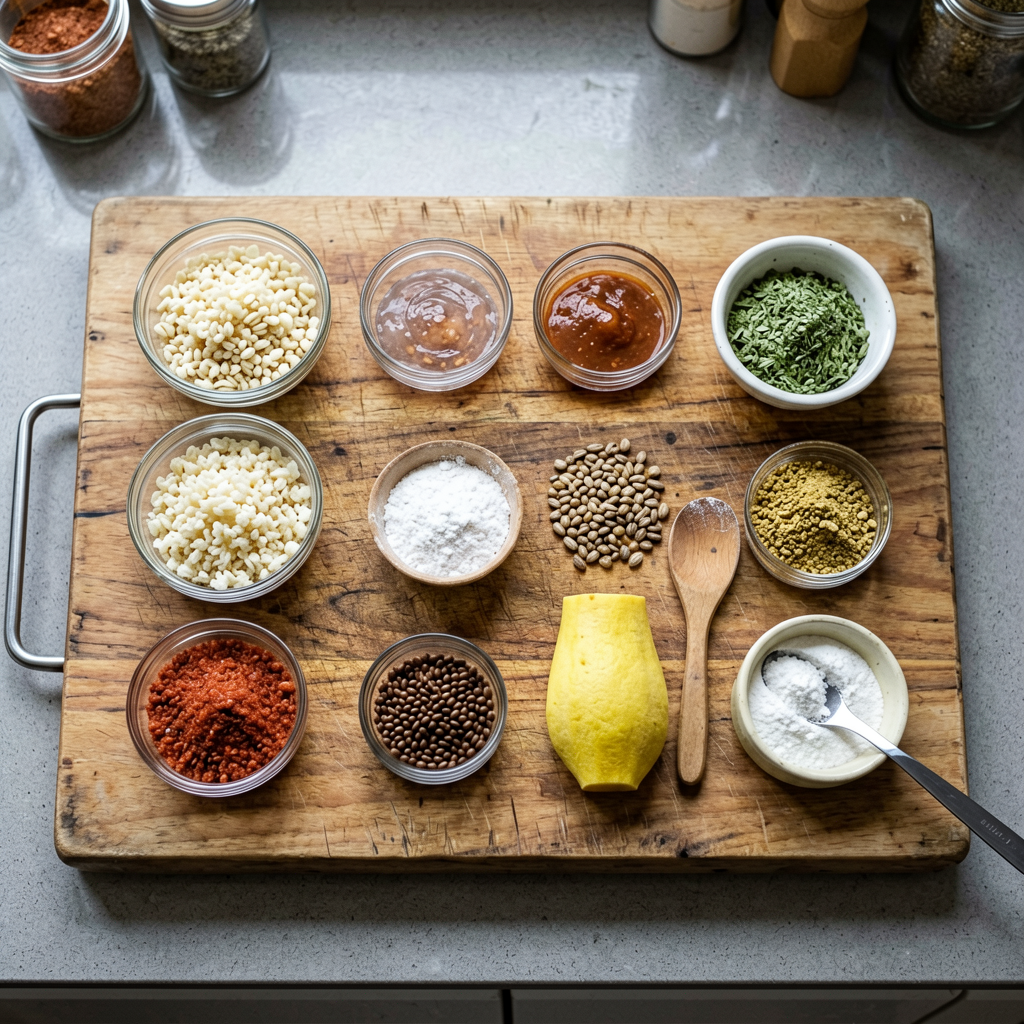
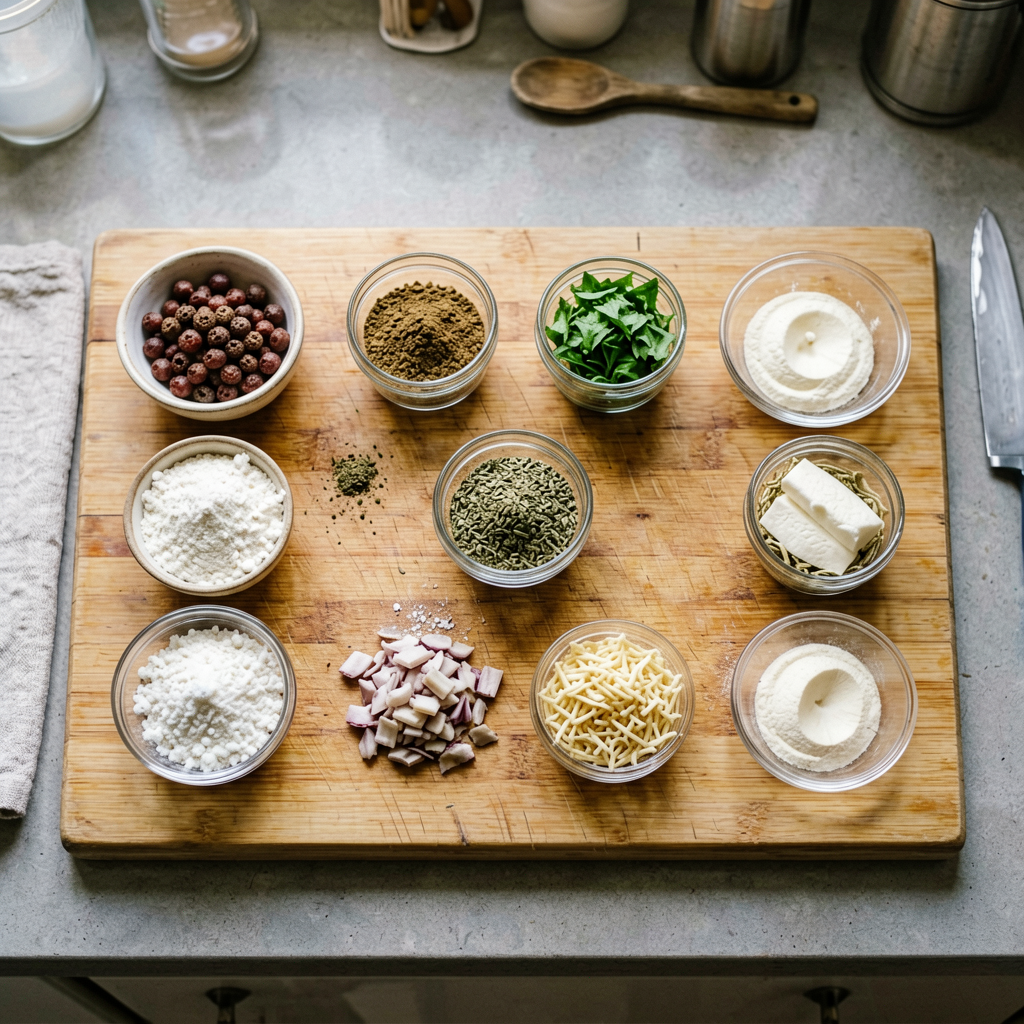
What You’ll Need
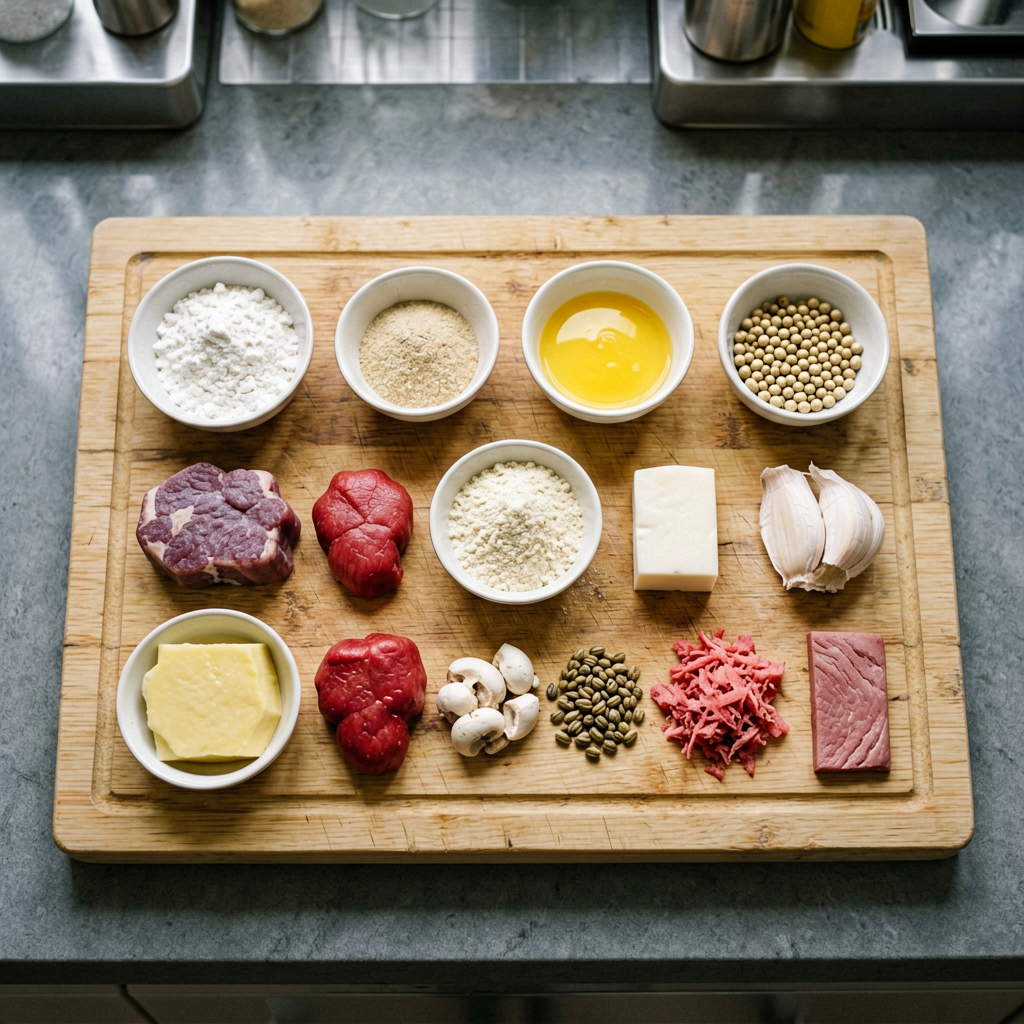
Ingredients
- Pork: 4 boneless pork loin chops (6-8 oz each, about 1.5 inches thick). Look for chops with consistent thickness for even cooking.
- Seasoning: 1.5 teaspoons kosher salt, 1 teaspoon freshly ground black pepper, 1/2 teaspoon garlic powder.
- Cooking Fat: 1 tablespoon avocado oil (or other high-smoke-point oil) and 1 tablespoon unsalted butter.
- Creamy Garlic Sauce:
- 4 large cloves garlic, finely minced
- 1/2 cup heavy whipping cream (35% fat)
- 1/4 cup chicken broth (low-sodium preferred)
- 1 tablespoon Dijon mustard
- 1 tablespoon fresh parsley, chopped (for garnish and finishing)
- Salt and pepper to taste
Equipment
- 12-inch cast iron or heavy-bottomed stainless steel skillet. A proper skillet ensures even heat distribution for a perfect sear.
- Instant-read digital thermometer. This is non-negotiable for perfectly cooked pork.
- Tongs and a wooden spoon.
- Small mixing bowl for sauce ingredients.
- Cutting board and sharp knife.
Prep Work
Proper preparation is critical for a smooth cooking process. Perform all chopping and measuring before you turn on the heat. Pat the pork chops completely dry with paper towels on all sides; this is the single most important step for achieving a good sear. Season them generously on both sides with the kosher salt, black pepper, and garlic powder. For best results, let the seasoned chops rest at room temperature for 15-20 minutes while you prep other ingredients. This takes the chill off, promoting more even cooking.
Finely mince the garlic. In your small bowl, whisk together the heavy cream, chicken broth, and Dijon mustard. Having this mixture ready prevents you from scrambling later when the pan is hot. Have your parsley chopped and ready.
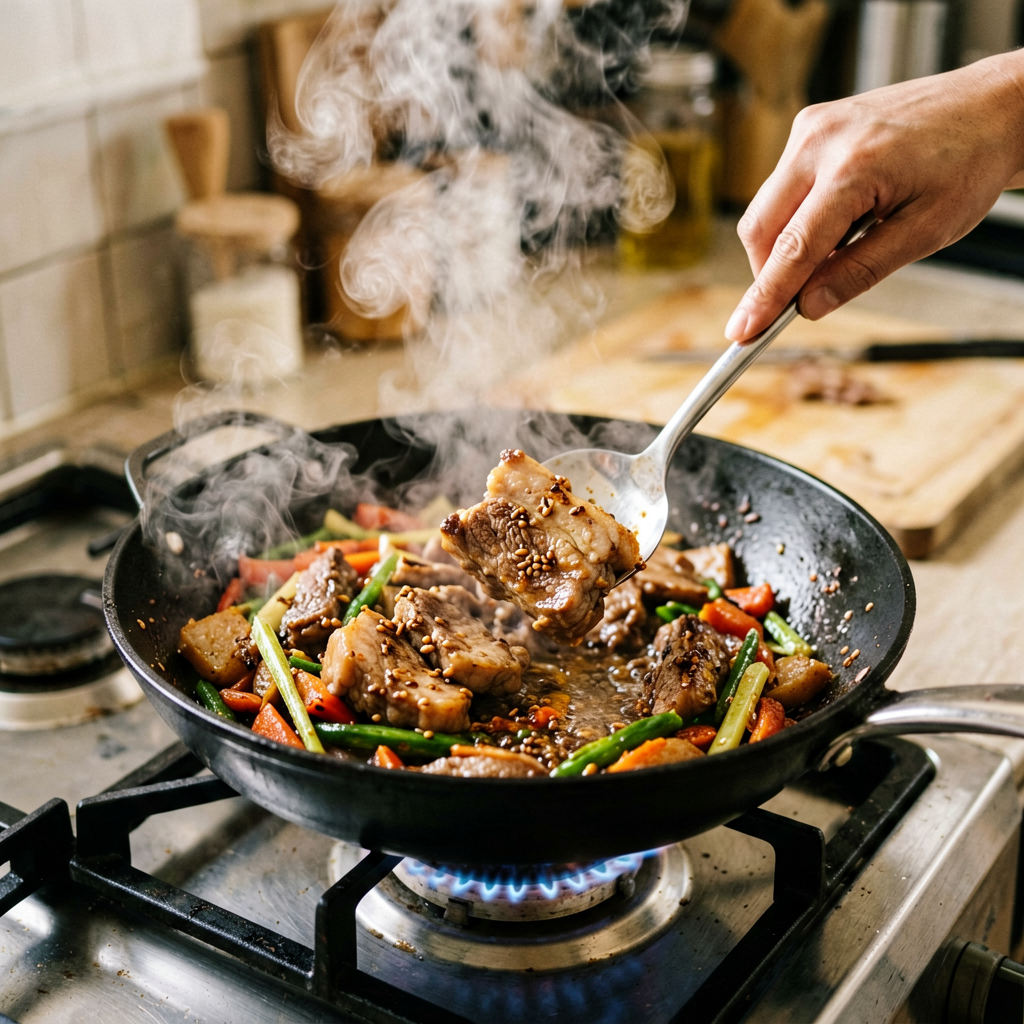
Cooking Instructions
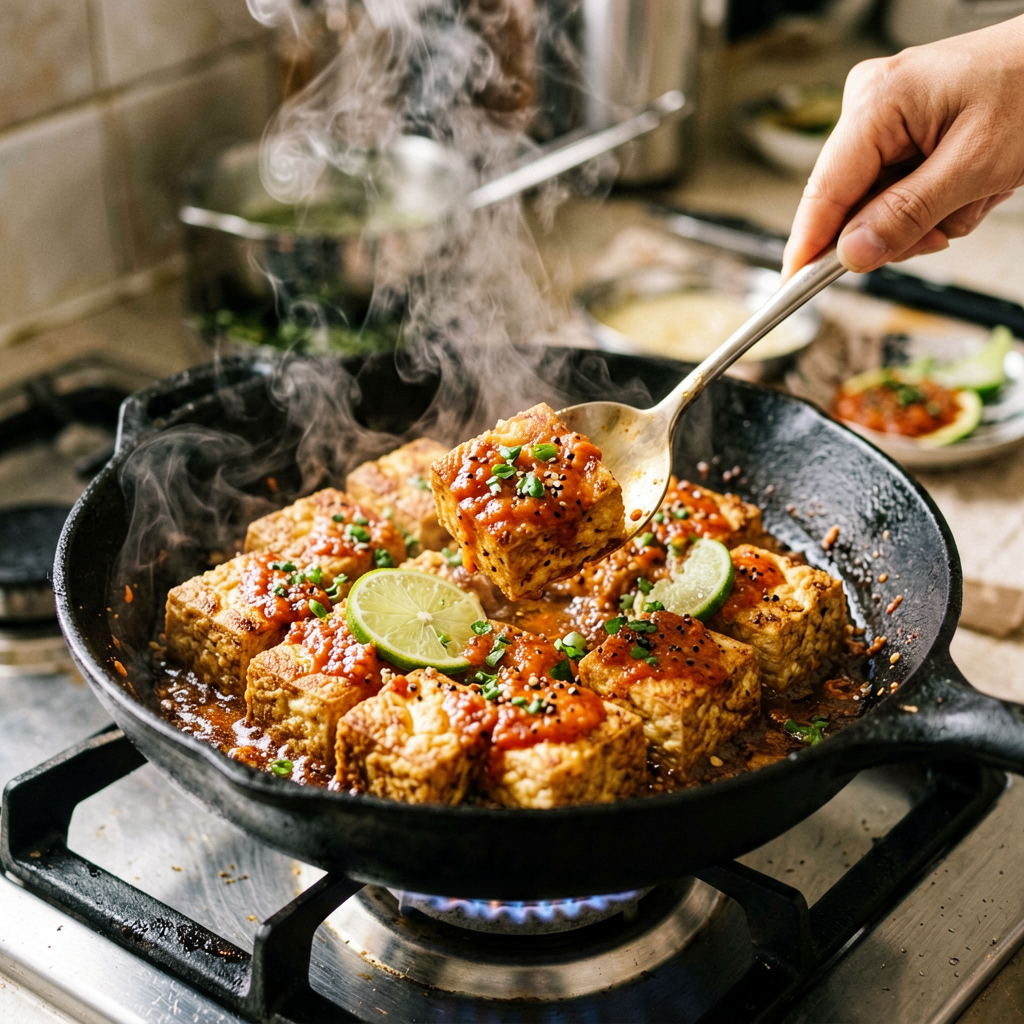
- Sear the Pork Chops: Place your skillet over medium-high heat. Add the avocado oil. When the oil shimmers and just begins to smoke (around 375°F / 190°C on an infrared thermometer), carefully add the pork chops. Do not overcrowd the pan—cook in batches if necessary. Sear undisturbed for 3-4 minutes. You’re looking for a deep, golden-brown crust. Flip and sear the second side for another 3-4 minutes.
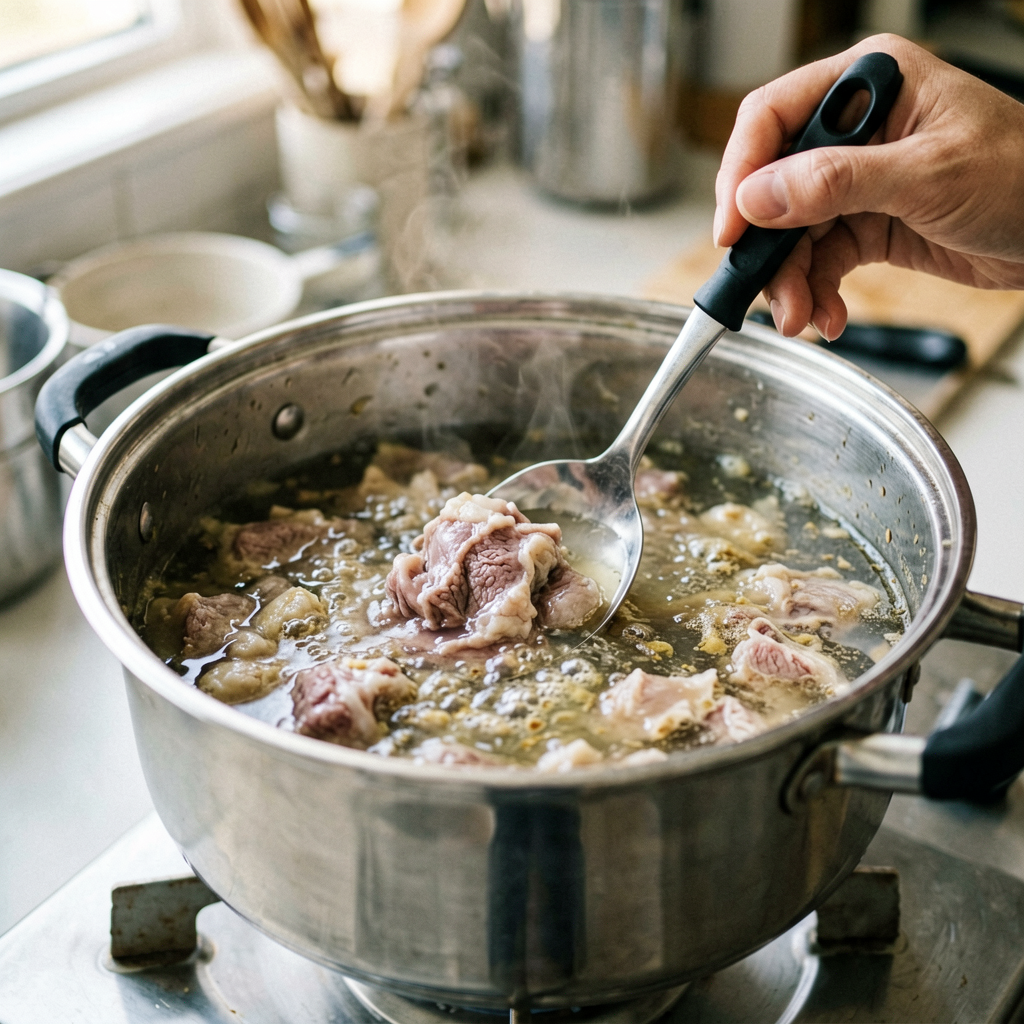
- Check for Doneness and Rest: Using your instant-read thermometer, check the internal temperature. You are targeting 145°F (63°C) for pork with a slight blush of pink in the center, which is safe and juicy. The chops will continue to cook as they rest. Transfer the seared chops to a plate and tent loosely with foil. Rest for 5 minutes. This allows the juices to redistribute throughout the meat.
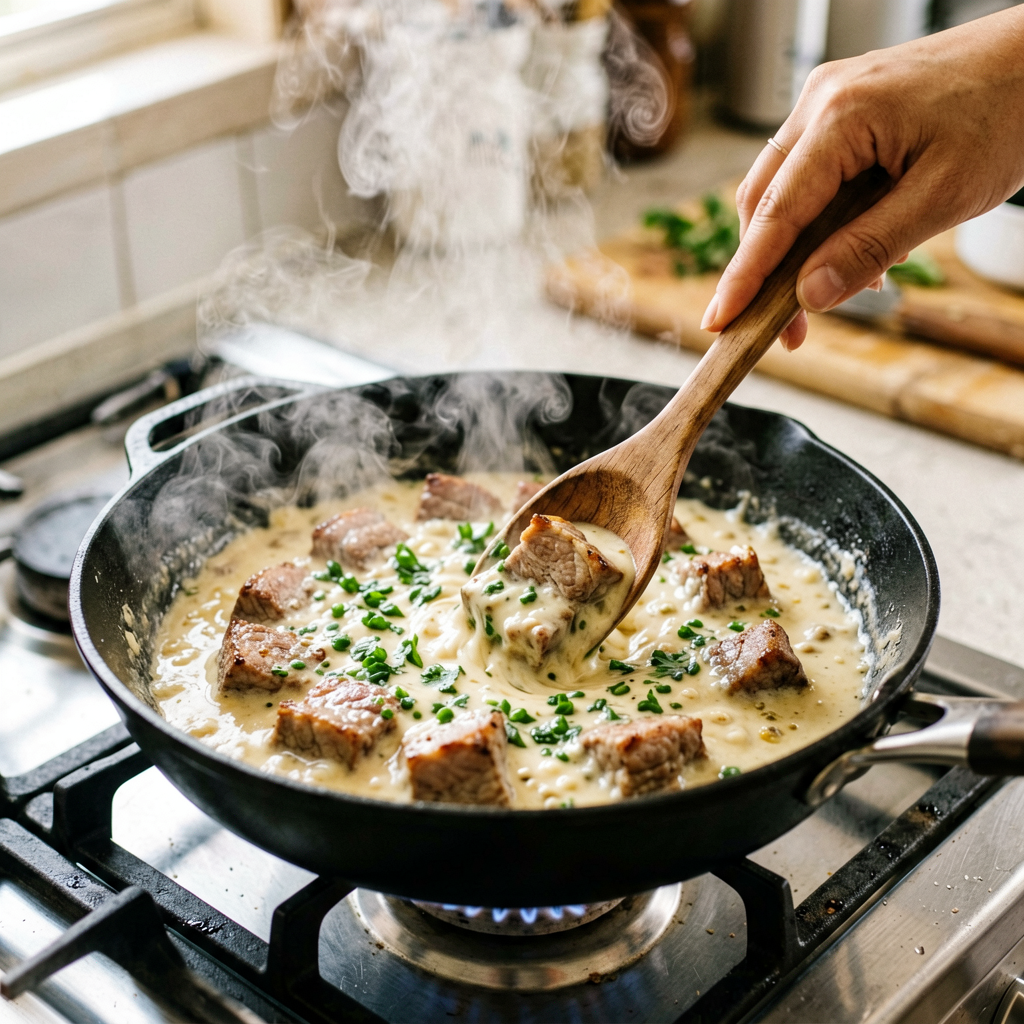
- Build the Pan Sauce: Reduce the heat to medium. Add the butter to the same skillet, scraping up any browned bits. Once melted, add the minced garlic. Sauté for 60-90 seconds, stirring constantly, until fragrant but not browned. The fond (browned bits) on the pan bottom is packed with flavor; deglaze by pouring in the pre-mixed cream, broth, and mustard. Use your wooden spoon to scrape all the flavorful bits from the pan.
- Simmer and Finish: Bring the sauce to a gentle simmer (small bubbles breaking the surface, not a rolling boil). Let it reduce and thicken slightly for 2-3 minutes. It should coat the back of a spoon. Stir in the fresh parsley and season with additional salt and pepper if needed. If the sauce is too thick, a splash more broth can thin it. If too thin, simmer a bit longer.
- Combine and Serve: Return the pork chops, and any accumulated juices from the plate, to the skillet. Turn them to coat thoroughly in the creamy garlic sauce. Let them warm through for 1 minute. Serve immediately, spooning extra sauce from the pan over the top.
Pro Tips
- The Sear is Everything: Don’t move the chops once they hit the hot pan. Listen for a strong, consistent sizzle. If it’s weak, your pan isn’t hot enough. A proper Maillard reaction (browning) creates complex flavor and texture.
- Sauce Control: If your sauce breaks (looks oily or curdled), it’s likely from too-high heat. Immediately remove from heat and whisk in a teaspoon of cold heavy cream or a small ice cube to bring it back together.
- Substitutions: Chicken thighs (boneless, skinless) work well here; increase searing time by 1-2 minutes per side. For a different flavor profile, try sun-dried tomatoes or a tablespoon of capers in the sauce. In my experience, finishing with a squeeze of lemon juice right at the end brightens the rich sauce beautifully.
- Make-Ahead: You can season the pork chops up to 24 hours in advance. Prepare the sauce base (minus parsley) and store it covered in the refrigerator for up to 2 days.
Serving Suggestions
This dish is a complete low-carb meal on its own. Pair it with:
- Vegetables: Steamed asparagus, roasted broccoli, or sautéed spinach with a touch of garlic.
- Heartier Sides: Cauliflower mash or a simple side salad with a vinaigrette to cut through the richness.
- Portion Guidance: One 6-8 oz pork chop with a generous 2-3 tablespoons of sauce per person is a satisfying serving.
FAQ
Can I use frozen pork chops?
I strongly advise against it. Cooking from frozen will prevent a proper sear, causing the meat to steam and release excess moisture. Thaw completely in the refrigerator for 24-48 hours for best results.
How do I know when the pork is done?
Visual cues are unreliable. An instant-read thermometer is your best guide. Insert it into the thickest part, avoiding bone. Pull the chops at 145°F (63°C) for juicy, perfectly cooked pork. Do not exceed 150°F (66°C) or the meat will dry out.
Can I prep this ahead?
Yes. Perform the “Mise en Place” (step 1 of Prep Work) up to a day ahead: season the chops, mince the garlic, and mix the cream sauce base (without parsley). Store all components separately in the refrigerator. Cooking will take just 15 minutes when you’re ready.
*As an Amazon Associate I earn from qualifying purchases.*