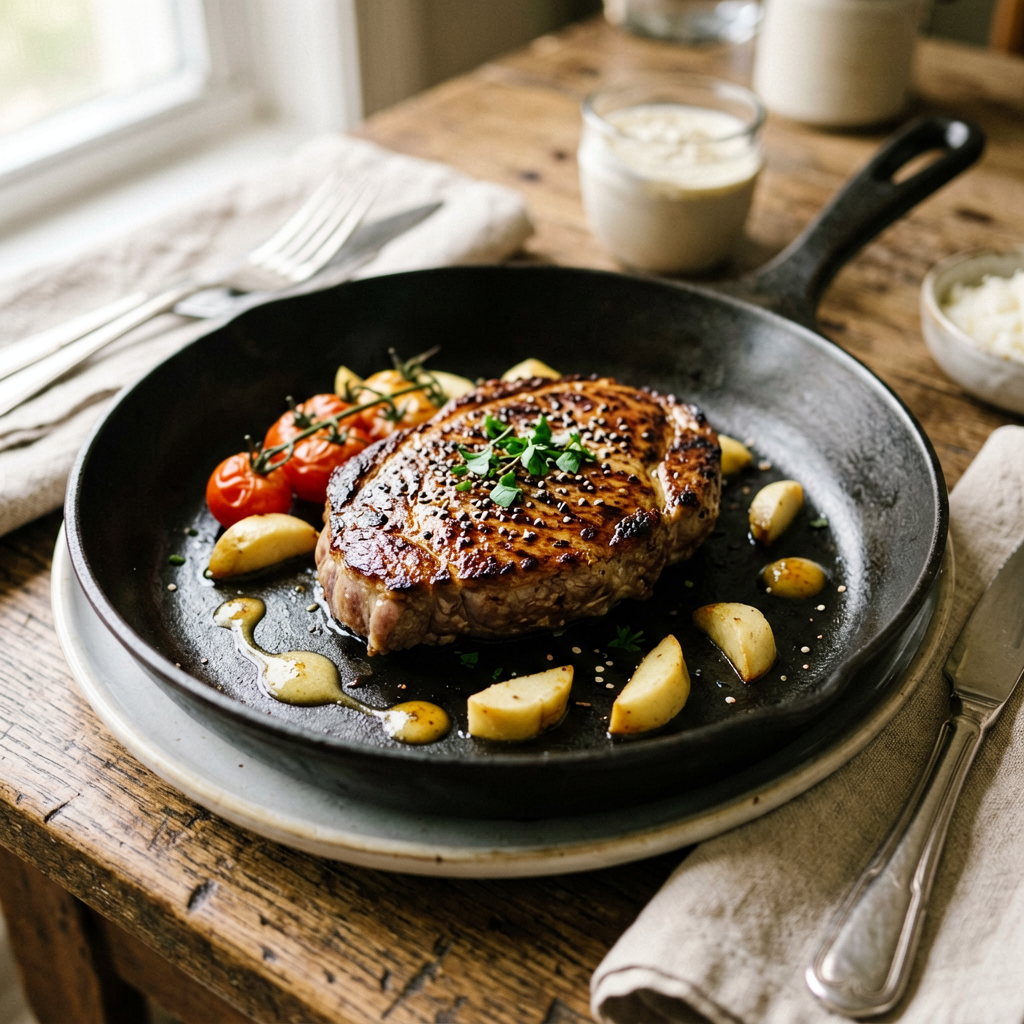
10-Minute Pan-Seared Salmon: The Only Technique You Need
This pan-seared salmon delivers a restaurant-quality result with minimal ingredients and maximum technique. The key is understanding heat management, proper seasoning timing, and knowing exactly when to leave the fish alone. In professional kitchens, we sear hundreds of salmon portions daily—the principles don’t change at home. This recipe works for beginners learning protein cookery and experienced cooks wanting a reliable weeknight method. Total active time is under 10 minutes, with a 4-minute rest while you plate. You’ll need a good pan, quality salmon, and the confidence to control your heat.
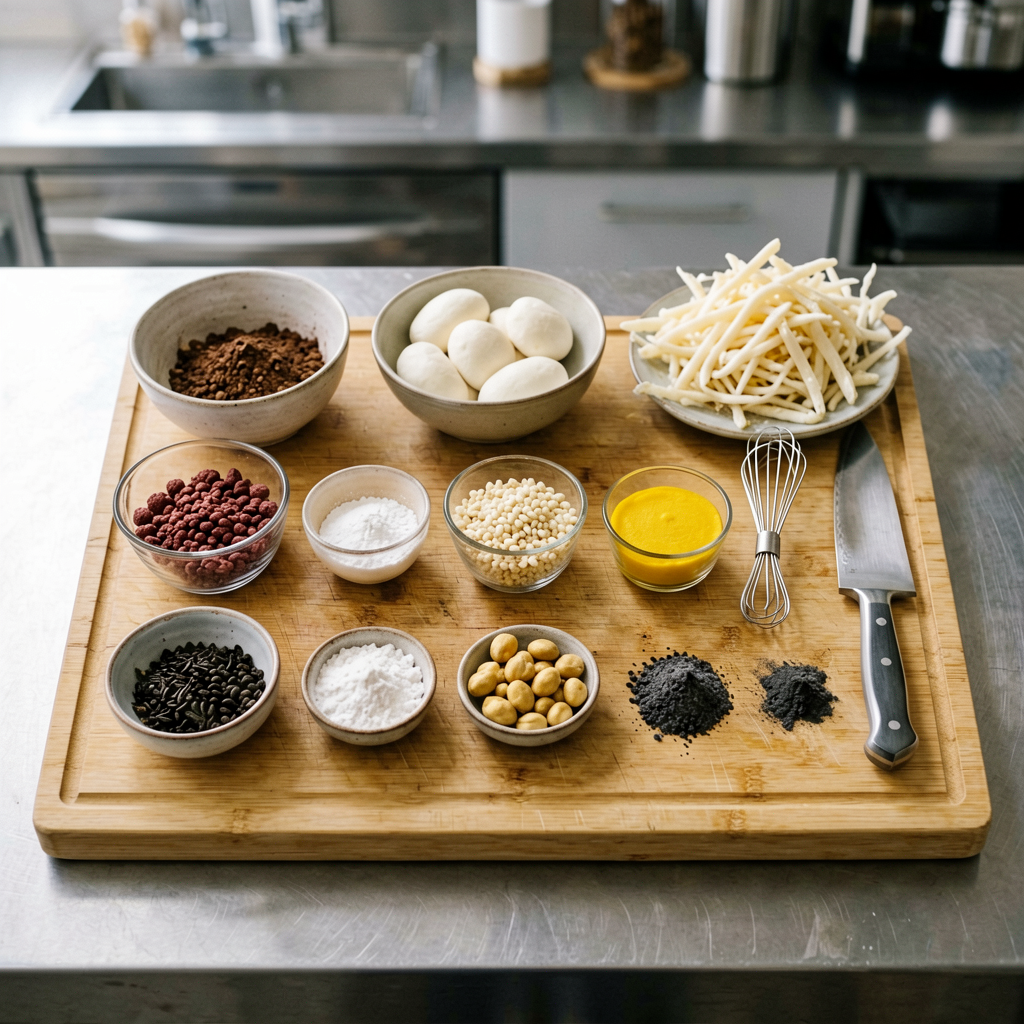
What You’ll Need
Ingredients
- Salmon fillets: 2 portions, 6 oz (170g) each, skin-on—look for fillets with bright, moist flesh and no browning around edges
- Kosher salt: 1 teaspoon (5g)—use Diamond Crystal or adjust to ¾ teaspoon if using Morton’s
- Freshly ground black pepper: ½ teaspoon
- Avocado oil or grapeseed oil: 1 tablespoon (15ml)—high smoke point is essential here, avoid extra virgin olive oil for searing
- Unsalted butter: 1 tablespoon (14g)—for basting in the final minutes
- Fresh lemon: 1 wedge for finishing
Equipment
- 12-inch stainless steel or cast iron skillet—aluminum pans won’t achieve the same crust; [Check Price on Amazon]
- Instant-read thermometer—critical for accuracy until you develop visual intuition
- Thin metal spatula or fish spatula—flexible enough to flip without breaking
- Paper towels—for drying the fish (non-negotiable step)
Prep Work
Proper preparation determines 80% of your result. Rushing this stage is the most common mistake I see home cooks make.
- Temper the salmon: Remove fillets from refrigerator 15-20 minutes before cooking. Cold fish hitting a hot pan causes uneven cooking—the center stays raw while the exterior overcooks. Room temperature protein cooks more predictably.
- Dry thoroughly: Pat every surface of the salmon with paper towels, pressing firmly. Moisture is the enemy of browning. The skin side needs extra attention—press paper towels against it for 10-15 seconds.
- Season strategically: Apply salt and pepper to the flesh side only, just before cooking. Salt draws out moisture if applied too early (more than 5 minutes ahead), which compromises your crust. If you want to salt earlier for deeper seasoning, do it 45 minutes ahead and refrigerate uncovered—the moisture will reabsorb.
- Check for bones: Run your fingers along the center line of the fillet. If you feel pin bones, remove them with clean tweezers or needle-nose pliers, pulling at the angle they enter the flesh.
Cooking Instructions
Every step here has a specific purpose. Follow the sequence exactly.
Step 1: Preheat the Pan (2 minutes)
Place your 12-inch skillet over medium-high heat. Heat it for 2 full minutes before adding oil—the pan needs to reach approximately 400°F / 204°C. You’ll know it’s ready when you can hold your hand 3 inches above the surface for only 3-4 seconds before it feels too hot. Add 1 tablespoon avocado oil and swirl to coat. The oil should shimmer and flow easily—if it smokes aggressively, you’ve gone too far: remove from heat, let it cool 30 seconds, then continue.
Step 2: Sear the Skin Side (4 minutes)
Place salmon fillets skin-side down into the pan, laying them away from you to prevent oil splatter toward your body. Immediately press each fillet gently with your spatula for 10 seconds—this ensures full contact between skin and pan surface. Without pressing, the skin will curl and create uneven browning.
Cook undisturbed for 4 minutes. I cannot stress this enough. Do not lift, do not peek, do not move. The crust forms through sustained contact with hot metal. You’ll notice the color change climbing up the side of the fillet as it cooks—that’s your visual timer. When you see the salmon has turned opaque roughly 75% of the way up the side, you’re ready to flip.
You should hear steady sizzling throughout. If it’s silent, your pan wasn’t hot enough. If it’s violently spattering, lower heat slightly to medium.
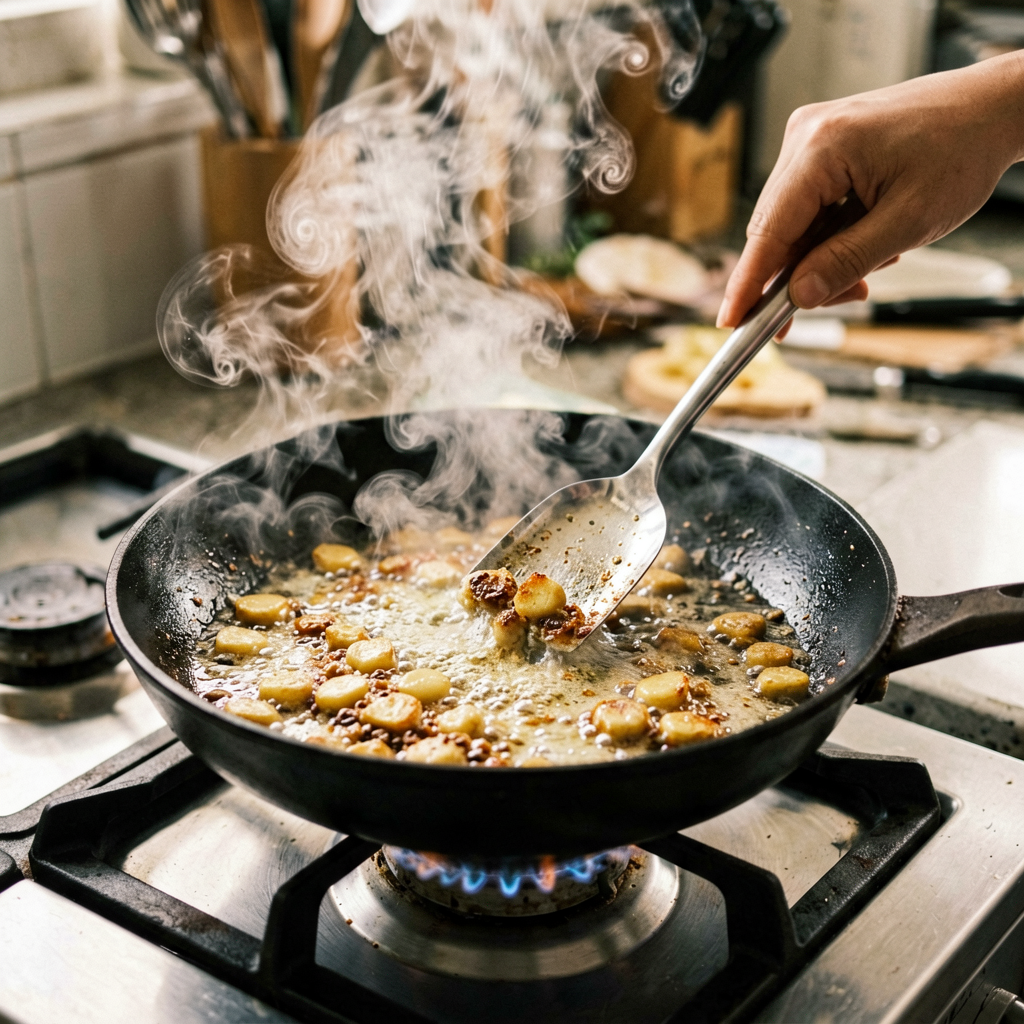
Step 3: Flip and Baste (2 minutes)
Slide your fish spatula under each fillet in one confident motion and flip. The skin should be deeply golden and crisp—like a cracker. If it’s pale, you either moved the fish too early or your heat was too low.
Add butter to the pan. As it melts and foams, tilt the pan slightly and use a large spoon to baste the melted butter over the top of the salmon repeatedly for 30-45 seconds. This adds flavor and helps cook the top gently. After flipping, cook for 1.5-2 minutes more.
Step 4: Check Temperature and Rest (1-2 minutes + 4 minutes rest)
Insert your instant-read thermometer into the thickest part of the fillet. Target 125°F / 52°C for medium (slightly translucent center) or 130°F / 54°C for medium-well. Salmon continues to cook while resting—expect a 5-degree carryover increase. Remove from pan at your target temp minus 5 degrees.
Transfer to a warm plate and rest for 4 minutes. This allows juices to redistribute throughout the flesh. Cutting immediately will result in dry salmon.
Pro Tips
- Skin-side down first, always: In my experience, starting skin-side down creates a protective barrier that prevents the delicate flesh from sticking while rendering the subcutaneous fat into a crispy layer. This is the professional standard for a reason.
- Don’t crowd the pan: Two fillets in a 12-inch pan is ideal. More than that drops the pan temperature and creates steam instead of sear. If cooking for more than two, work in batches.
- The water droplet test: If you’re unsure about pan temperature, flick a tiny drop of water onto the surface. It should sizzle and evaporate within 1-2 seconds. If it dances around, your pan is between 375-400°F—perfect.
- Substitution that works: If you can’t find avocado oil, refined coconut oil (not virgin) handles high heat similarly. For the butter, you can use ghee for a nuttier flavor and even higher smoke point.
- Make-ahead strategy: You can season the salmon and refrigerate it uncovered for up to 4 hours. This dry-brines the fish and improves texture. Bring to room temperature for 15 minutes before cooking.
Serving Suggestions
This salmon pairs well with nearly any quick-cooked side. Here are reliable combinations:
- Asparagus or broccolini: Blanched and shocked, then sautéed in the same pan after the salmon for 2-3 minutes
- Lemon-dressed greens: Arugula or mixed greens with olive oil, lemon juice, and flaky salt
- Steamed rice or couscous: Simple starches let the salmon be the star
- Quick pan sauce: After removing the salmon, deglaze the pan with ¼ cup (60ml) white wine, reduce by half, add 1 tablespoon cold butter, swirl until emulsified, and drizzle over plated fish
Portion guidance: One 6 oz (170g) fillet per person as a main course. For a protein-forward meal with sides, this provides approximately 34g of protein with minimal carbs.
Frequently Asked Questions
Can I use frozen salmon?
Yes, but with modifications. Thaw completely in the refrigerator for 8-12 hours (never at room temperature). Frozen-then-thawed salmon releases more moisture, so pat it especially dry—expect to use 3-4 rounds of paper towels. The sear may take an extra 30 seconds to develop. If you’re pressed for time, place sealed fillets in cold water for 30-45 minutes, changing water once.
How do I know when it’s done without a thermometer?
Visual and tactile cues: the flesh should flake easily when pressed gently with a fork but still look slightly glossy in the very center. Press the thickest part with your finger—it should feel firm but yield slightly, similar to pressing the fleshy part of your palm below the thumb. If it’s completely firm throughout, it’s overdone.
Can I prep this ahead for a dinner party?
Season your salmon up to 4 hours in advance and keep refrigerated. You can also complete the skin-side sear (Step 2) and hold at room temperature for up to 30 minutes before finishing the flip and baste. For maximum efficiency, ask guests to arrive hungry—this dish waits for no one.
Why does my salmon stick to the pan?
Three causes, in order of likelihood: the pan wasn’t hot enough, the fish wasn’t dry enough, or you moved it too early. The natural release principle applies here—when the crust has fully formed, the fish will release from the pan on its own. If you have to force it, it’s not ready. Give it another 30-60 seconds.
*As an Amazon Associate I earn from qualifying purchases.*
发表回复