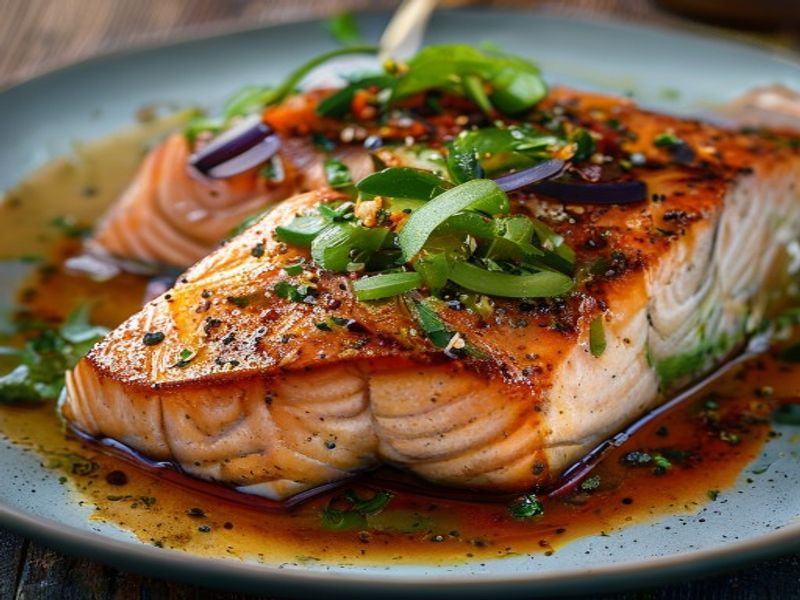
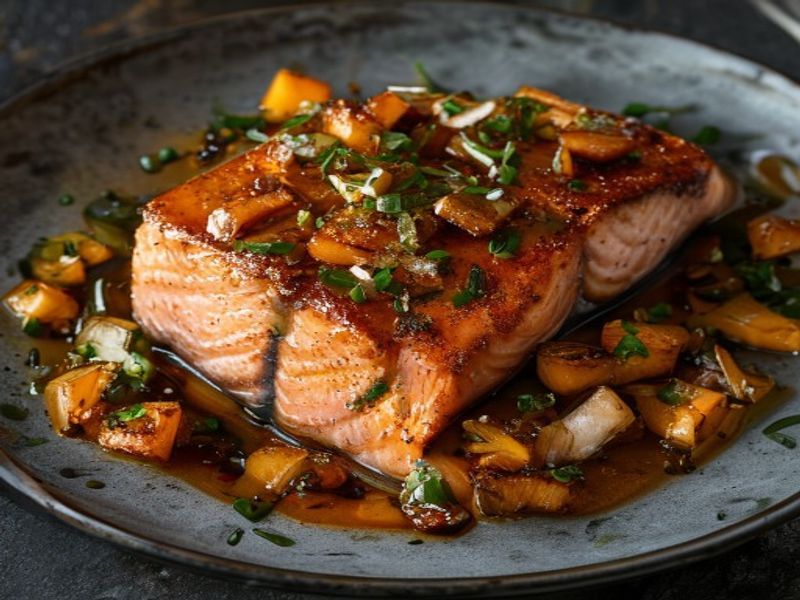
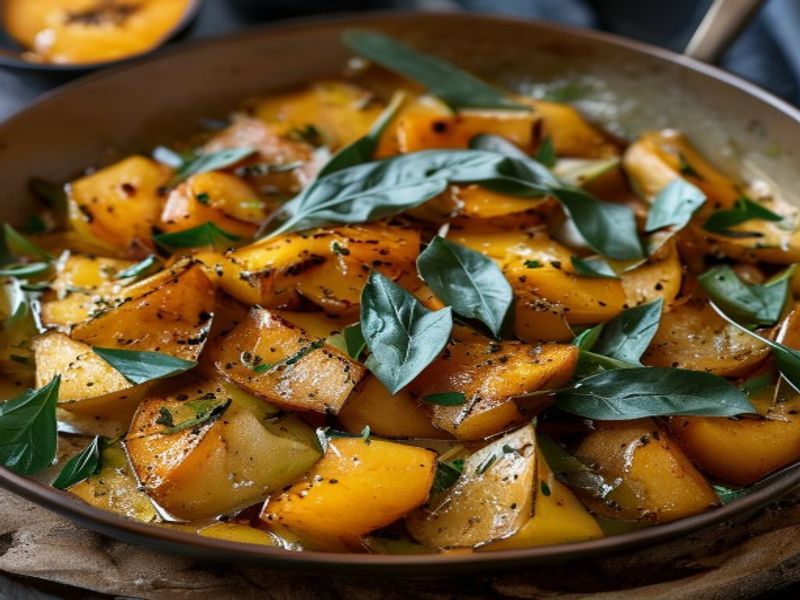
20-Minute Skillet Sweet Potato Hash with Brown Butter & Crispy Sage
This sweet potato breakfast hash delivers restaurant-quality texture and flavor in a fraction of the time. By leveraging high-heat searing followed by a controlled brown butter finish, the dish achieves a crisp exterior while maintaining a tender, caramelized interior. The technique is straightforward but demands precision in dice size, pan temperature, and timing to prevent steaming. Ideal for weeknights or weekend mornings, this skillet breakfast recipe requires only foundational knife skills and basic heat management. Whether you are building quick vegetarian morning meals or assembling gluten-free breakfast bowls, the method scales effortlessly. The brown butter sage hash component adds a nutty, aromatic depth that transforms simple root vegetables into a composed dish. Follow the temperature and timing cues below for consistent, professional results every time.
What You’ll Need
Ingredients
- Sweet potatoes: 1.5 pounds (approx. 2 medium), firm and unblemished
- Yellow onion: 1 large (about 1 cup diced), fresh and firm
- Bell pepper: 1 medium, red or orange for sweetness and color
- Fresh sage: 12 large leaves, rinsed and thoroughly patted dry
- Unsalted butter: 4 tablespoons (1/2 stick), cold from refrigerator
- Avocado oil: 2 tablespoons, high smoke point required
- Kosher salt: 1.5 teaspoons, divided
- Black pepper: 1/2 teaspoon freshly cracked
- Smoked paprika: 1/4 teaspoon
- Apple cider vinegar: 1 teaspoon, for deglazing
Ingredient Selection Notes
Choose sweet potatoes with uniform girth to ensure even cooking. Cold butter browns more predictably than softened butter because the milk solids separate gradually rather than seizing. Dry sage is non-negotiable; moisture causes violent oil splattering and prevents proper crisping.
Equipment Required
- 12-inch cast iron skillet or heavy stainless steel pan
- Chef’s knife (8-inch or 10-inch)
- Flexible spatula with thin edge
- Instant-read thermometer
- Paper towels for drying herbs
Prep Work
Proper mise en place dictates the pace of this 20 minute breakfast recipe. Begin by peeling the sweet potatoes and dicing them into precise 1/2-inch cubes. Uniform sizing is critical; irregular pieces will cook at different rates, resulting in some mushy and others underdone. Transfer diced potatoes to a bowl and toss with 1 teaspoon kosher salt and 1/4 teaspoon smoked paprika. Salt draws surface moisture, which promotes faster Maillard reaction when hitting the pan.
Finely dice the yellow onion and bell pepper into 1/4-inch pieces to match the cooking timeline. Rinse the sage leaves, then lay them flat between double-layer paper towels. Press firmly to remove all residual water. Keep all components chilled until the moment they hit the skillet to maintain structural integrity. The entire prep phase should take 7–8 minutes. You can dice the vegetables up to 12 hours in advance and store them in airtight containers in the refrigerator, but do not salt the potatoes until immediately before cooking.
Cooking Instructions
- Preheat the Pan: Place your 12-inch cast iron skillet over medium-high heat (400°F / 205°C surface temp). Allow it to heat for 3 minutes undisturbed. A properly heated pan prevents sticking and initiates immediate searing. Add 2 tablespoons avocado oil and swirl to coat the surface.
- Initial Sear (Sweet Potatoes): Spread the diced sweet potatoes in a single layer. Do not crowd the pan. Cook undisturbed for 4 minutes until a deep golden crust forms on the bottom. You should hear a steady sizzle, not a hiss. A hiss indicates steaming, meaning the pan is too cool or overcrowded. Flip and cook for another 3 minutes. Remove to a plate if browning too quickly.
- Build the Aromatics: Reduce heat to medium (350°F / 175°C). Add diced onion and bell pepper. Cook for 3–4 minutes, stirring occasionally, until edges soften and turn translucent. Add the sweet potatoes back to the skillet. Season with 1/2 teaspoon kosher salt and 1/2 teaspoon black pepper. Toss to combine.
- Brown the Butter: Push the hash to one side of the pan. Add 4 tablespoons cold unsalted butter to the empty side. Swirl continuously for 2–3 minutes. Watch for the foam to subside and the butter to transition to an amber hue. You will smell toasted nuts and see golden milk solids at the bottom. Remove from heat immediately at this stage to prevent burning.
- Crisp the Sage & Finish: Add the dried sage leaves to the brown butter. They will fry rapidly and crisp within 30–45 seconds. Drain on paper towels if needed, then return to the pan. Drizzle 1 teaspoon apple cider vinegar to deglaze and brighten the dish. Toss everything together for 1 minute to coat evenly. Remove from heat and serve immediately.
Common Mistakes to Avoid: Overcrowding the pan traps steam and prevents crust formation. Adding butter to a pan hotter than 350°F / 175°C causes instant burning. Skipping the acid finish leaves the dish heavy and one-dimensional.
Pro Tips
- Temperature Control is Key: I find that letting the sweet potatoes sit at room temperature for 5 minutes before cooking reduces the thermal shock to the pan, promoting a more even sear without scorching the edges.
- Butter Management: In my experience, using European-style butter with 82% fat content yields a deeper nutty flavor and browns more slowly, giving you a wider window to catch the perfect amber stage. If you notice dark specks forming rapidly, pour the butter into a cool bowl immediately to halt carryover cooking.
- Make-Ahead Strategy: The hash can be par-cooked and cooled, then reheated in a hot skillet with 1 teaspoon of fresh oil. This restores crispness in under 4 minutes. Do not microwave, as it will soften the exterior.
- Substitutions: Swap sweet potatoes for butternut squash or Yukon gold potatoes using the same dice size. Replace sage with rosemary or thyme, but reduce frying time by 10 seconds as they scorch faster.
Serving Suggestions
This dish yields 4 generous portions (approximately 1.5 cups per serving). For balanced meals, pair with two poached or fried eggs for added protein, or serve alongside Greek yogurt for a quick vegetarian morning meal that balances richness with acidity. The hash also works beautifully as a base for gluten-free breakfast bowls when topped with sliced avocado, microgreens, and a squeeze of fresh lemon juice. Garnish with the reserved crispy sage leaves and a final crack of black pepper. Serve immediately while the crust remains intact; texture degrades within 5 minutes of resting.
FAQ
Can I use frozen sweet potatoes?
No. Frozen sweet potatoes release excessive water during thawing, which prevents proper browning and steams the vegetables instead of searing them. Always start with fresh, firm potatoes for optimal crust development.
How do I know when the hash is fully cooked?
The interior should yield easily to a fork with zero resistance, while the exterior displays a uniform mahogany color. An instant-read thermometer will read 205°F / 96°C internally when fully tender.
Can I prep this ahead?
Yes, dice and store the vegetables separately in the refrigerator for up to 24 hours. Cook the hash completely, cool it rapidly on a sheet pan, and refrigerate. Reheat in a dry 12-inch skillet over medium-high heat (375°F / 190°C) for 3–4 minutes to restore crispness before adding the brown butter and sage.
What pan size is essential for this recipe?
A 12-inch cast iron skillet provides the optimal surface area-to-ingredient ratio. Smaller pans force overcrowding, which drops the cooking temperature and creates a soggy texture. For a reliable workhorse, check out this professional-grade 12-inch cast iron skillet [Check Price on Amazon.
*As an Amazon Associate I earn from qualifying purchases.