Crispy Air-Fried Honey-Garlic Glazed Chicken Thighs
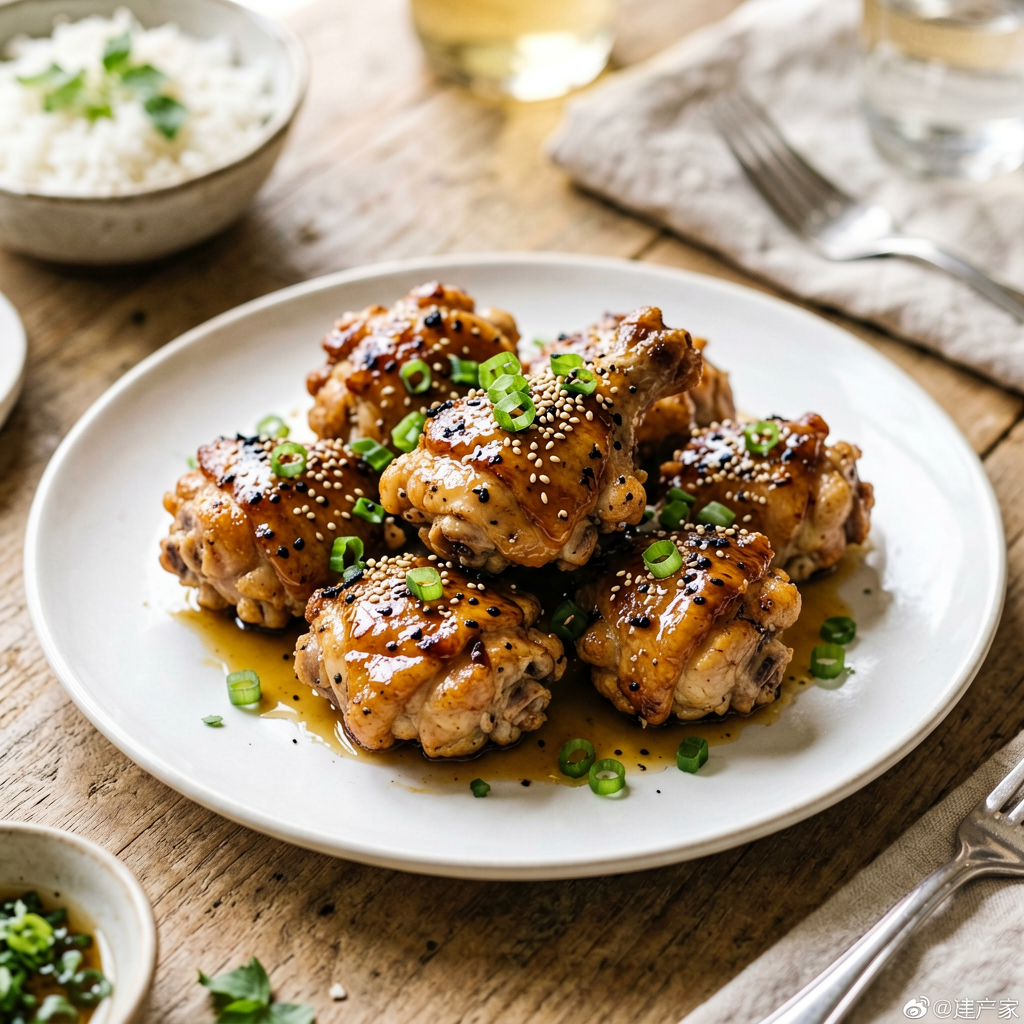
This recipe is for the home cook who wants maximum flavor with minimal fuss. We’re using the air fryer’s rapid convection heat to achieve chicken thighs with skin that’s shatteringly crisp, while the meat remains juicy and tender. The honey-garlic glaze is added in the final minutes, allowing it to caramelize into a sticky, savory-sweet coating without burning. The process is straightforward: season, air fry, glaze, and finish. This is an ideal weeknight dinner with impressive results, requiring only one main appliance for cooking. In my experience, bone-in, skin-on thighs are more forgiving and flavorful than breasts, making them perfect for this high-heat method.
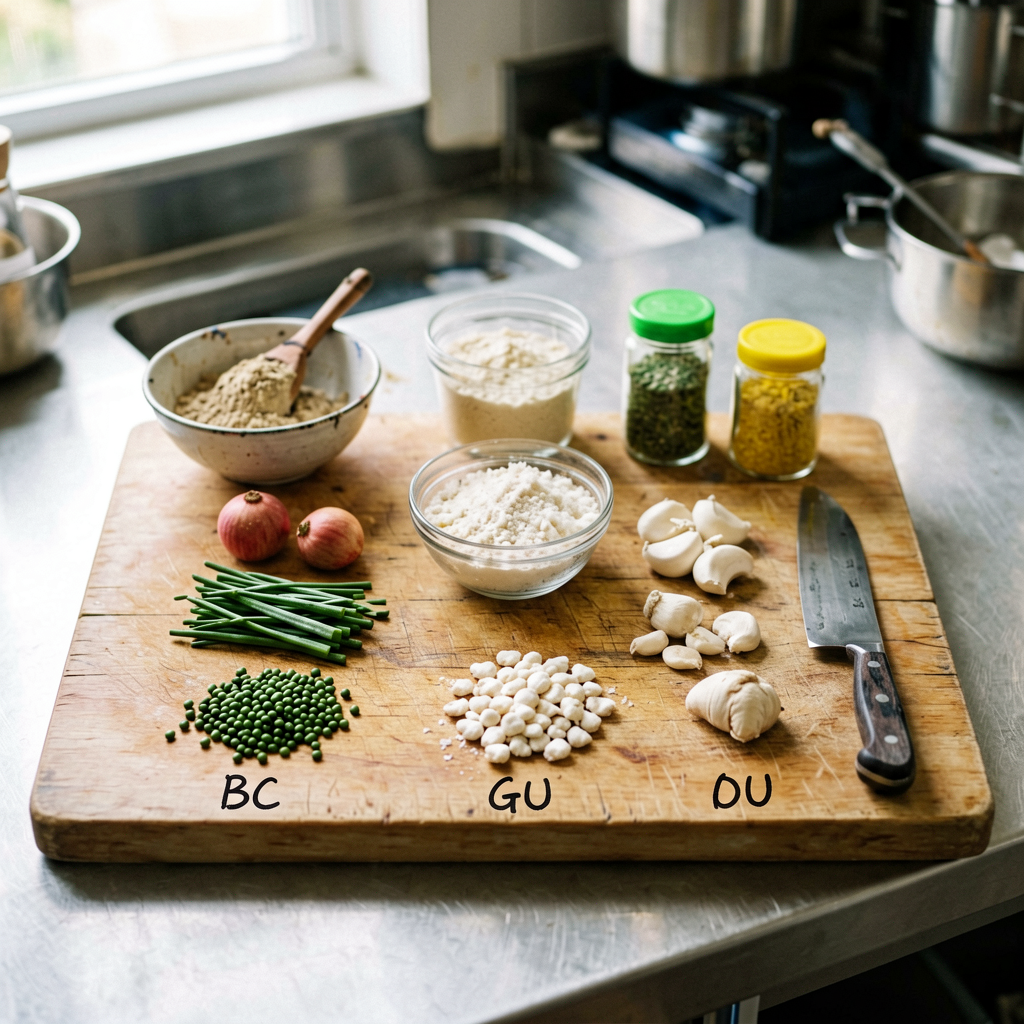
What You’ll Need
For the Chicken (4 servings):
- Chicken thighs, bone-in, skin-on: 1.5 pounds (about 4 medium thighs). Thighs are essential for staying moist under high heat.
- Kosher salt: 1 teaspoon
- Garlic powder: 1 teaspoon
- Smoked paprika: 1 teaspoon
- Black pepper: ½ teaspoon, freshly ground
- Baking powder: 1 teaspoon, aluminum-free. This is the secret to extra-crispy skin; it raises the skin’s pH, promoting browning and crisping.
For the Honey-Garlic Glaze:
- Honey: ¼ cup (85g)
- Soy sauce: 2 tablespoons, low-sodium recommended
- Rice vinegar: 1 tablespoon
- Garlic: 3 cloves, finely minced or grated
- Fresh ginger: 1 teaspoon, grated (optional, but adds brightness)
- Red pepper flakes: ¼ teaspoon (optional, for a mild heat)
Equipment Needed:
- A standard air fryer (basket or tray style).
- A small saucepan for the glaze.
- An instant-read meat thermometer – non-negotiable for perfect doneness. Check Price on Amazon.
- Paper towels.
- A rimmed baking sheet or plate for resting.
Prep Work
- Pat the Chicken Dry: Remove the chicken from the packaging. Use paper towels to thoroughly pat the skin and surfaces dry. This is the single most important step for crispy skin. Moisture creates steam, which prevents crisping.
- Season in Advance (Optional but Recommended): For the best flavor penetration and skin texture, season the thighs with salt, garlic powder, smoked paprika, and black pepper on both sides. If you have time, let them sit uncovered on a plate in the refrigerator for 1-24 hours. This dries the skin further and seasons the meat.
- Add the Baking Powder: Right before cooking, sprinkle the aluminum-free baking powder evenly over the skin side of the thighs and rub gently to adhere. You will not taste it; its role is purely chemical.
- Prep the Glaze Ingredients: Mince or grate the garlic and ginger. Measure all glaze ingredients into a small saucepan so it’s ready to go on the stove.
Timing Note: The chicken can be seasoned up to 24 hours ahead. The glaze should be made fresh while the chicken cooks.
Cooking Instructions
- Preheat the Air Fryer: Set your air fryer to 400°F / 205°C. Allow it to preheat for at least 3-5 minutes. A hot start helps immediately begin rendering the skin fat.
- Arrange the Chicken: Place the chicken thighs skin-side up in the air fryer basket in a single layer, ensuring they are not touching. Overcrowding will steam the chicken and result in soggy skin. Cook in batches if necessary.
- Initial Cook (Crisping the Skin): Air fry at 400°F / 205°C for 18 minutes. Do not open the basket during the first 15 minutes. After 18 minutes, open the basket. The skin should be deep golden brown and starting to crisp. The meat thermometer should read around 155°F / 68°C in the thickest part.
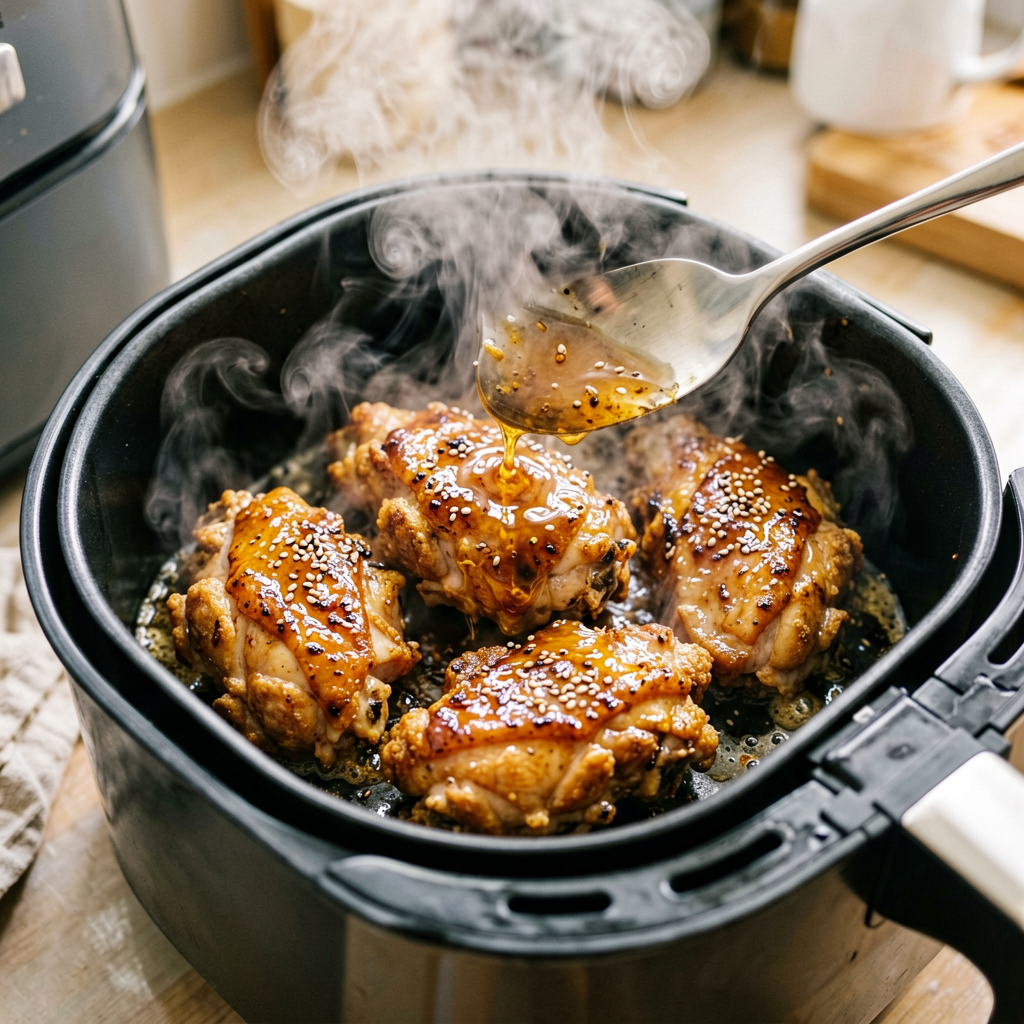
- Make the Glaze: While the chicken cooks its first round, combine all glaze ingredients in the small saucepan. Bring to a simmer over medium heat, stirring constantly. Let it bubble gently for 2-3 minutes until slightly thickened and syrupy. It should coat the back of a spoon. Remove from heat.
- Glaze and Finish: Using a pastry brush, generously brush the honey-garlic glaze over the skin of each chicken thigh. Return the basket to the air fryer. Reduce the temperature to 375°F / 190°C and cook for an additional 5-7 minutes. Watch closely; the honey can burn quickly. You are looking for the glaze to become bubbly, sticky, and lacquered onto the skin. The internal temperature of the chicken should now reach a minimum of 165°F / 74°C at the thickest part, avoiding the bone.
- Rest the Chicken: Carefully transfer the chicken to a clean rimmed baking sheet or plate. Let it rest for 5 minutes. This allows the juices to redistribute throughout the meat, ensuring every bite is moist. The glaze will also set slightly as it cools.
Visual Cues & What to Watch For:
- Pre-Glaze: Skin should be taut, deep golden, and audibly sizzle when tapped.
- Post-Glaze: The glaze will be glossy and adhere tightly to the skin. Edges of the glaze may caramelize to a darker amber.
- Doneness: Juices will run clear (not pink) when pierced, and the meat will feel firm but not hard. The thermometer is your best friend here.
Common Mistake to Avoid: Applying the glaze too early. The sugars will burn before the chicken is cooked through. Always glaze only in the final 5-7 minutes of cooking.
Pro Tips
I find that using an air fryer thermometer that clips to the basket is incredibly helpful for monitoring oil temperature if you’re deep-frying, but for this recipe, the instant-read for the chicken itself is what matters. For an even crispier result, after the initial 18-minute cook, you can let the chicken rest for 5 minutes, then return it to the hot air fryer for 2 minutes before glazing. This gives the skin an extra blast of dry heat.
Substitutions: For the glaze, you can use maple syrup or brown sugar instead of honey. If you don’t have rice vinegar, apple cider vinegar works. For a richer flavor, add 1 teaspoon of toasted sesame oil to the finished glaze.
Make-Ahead: The glaze can be made up to 3 days in advance and stored in the refrigerator. Reheat gently before using. The seasoned raw chicken can be prepped 24 hours ahead.
Serving Suggestions
These thighs are rich, so pair them with something fresh and simple. Steamed jasmine rice or quick-pickled cucumbers cut through the richness beautifully. A simple arugula salad with a lemon vinaigrette or roasted broccoli florets tossed in a little olive oil also make excellent, balanced sides. For a complete meal, serve two thighs per person alongside ½ cup of rice and a generous portion of vegetables.
Frequently Asked Questions
Q: Can I use frozen chicken thighs?
A: For this specific recipe focused on crispy skin, I do not recommend it. You need to thaw the chicken completely to pat the skin dry effectively. From-frozen cooking will release too much moisture, steaming the skin. If you must, thaw overnight in the refrigerator.
Q: How do I know when it’s done?
A: There are three reliable checks: 1) The skin is golden and crisp. 2) The juices run clear when pierced with a knife. 3) Most accurately, an instant-read thermometer inserted into the thickest part of the thigh, avoiding bone, reads 165°F / 74°C. Do not rely solely on time, as air fryer models vary.
Q: Can I prep this ahead for a dinner party?
A: Absolutely. Season the chicken and make the glaze up to a day in advance, storing them separately in the refrigerator. When ready to cook, follow the instructions as written. You can also fully cook the chicken (without glaze), let it cool, and refrigerate. To serve, reheat in the air fryer at 375°F/190°C for 5-6 minutes until hot, then apply the glaze for the final 3-4 minutes.
*As an Amazon Associate I earn from qualifying purchases.*
发表回复