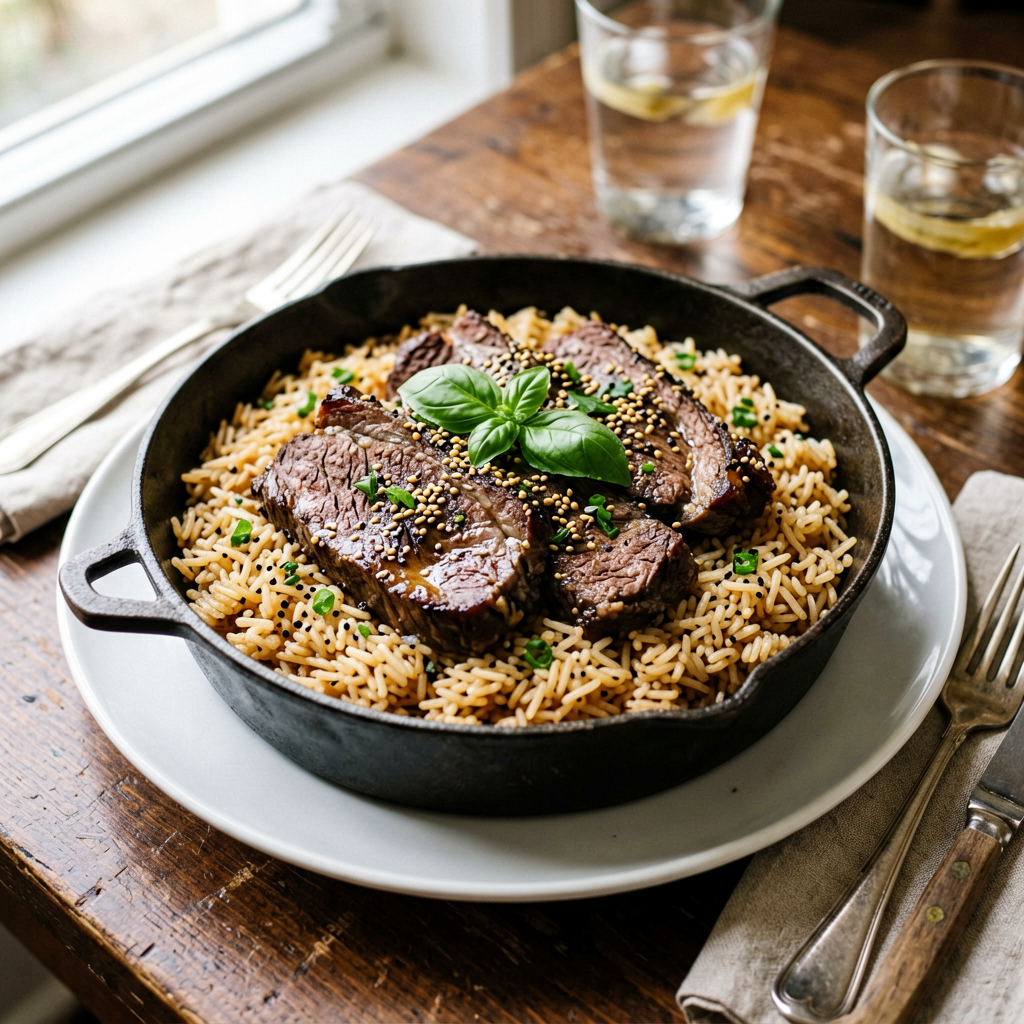
Beef and Rice Skillet (Mexican)
One Pan, Big Flavor: A Weeknight Dinner That Actually Delivers
This Mexican-inspired beef and rice skillet is the kind of recipe that earns a permanent spot in your rotation. Everything cooks in a single pan, which means less cleanup and more flavor—everything picks up the fond from the beef, the aromatic spices bloom in the fat, and the rice absorbs every bit of it. The dish works because of a simple layering technique: brown your beef well, toast the rice in the rendered fat, then let the broth and tomatoes do the heavy lifting while you walk away for 20 minutes. The result is tender, seasoned rice with a slight crust on the bottom and juicy, well-seasoned beef throughout. This is a straightforward recipe that requires basic knife skills and the ability to manage heat. Total time from start to plate is around 40 minutes, and the active cooking is only about 15 of those.
What You’ll Need
Ingredients
- Ground beef (80/20): 1.5 pounds (680g) — the 80/20 ratio matters here; the fat renders and becomes the cooking medium for your rice
- Long-grain white rice: 1.5 cups (300g) — do not use short-grain or jasmine; long-grain holds its shape better in one-pot dishes
- Yellow onion: 1 medium, finely diced (about 1 cup / 150g)
- Bell pepper (red or green): 1 large, diced (about 1 cup / 150g)
- Garlic: 4 cloves, minced
- Cumin, ground: 1.5 teaspoons
- Chili powder: 1 tablespoon
- Smoked paprika: 1 teaspoon
- Dried oregano (Mexican, if available): 1 teaspoon
- Kosher salt: 1.5 teaspoons, plus more to taste
- Black pepper: ½ teaspoon
- Diced tomatoes (fire-roasted preferred): 1 can (14.5 oz / 411g), undrained
- Tomato paste: 2 tablespoons
- Beef broth (low-sodium): 2 cups (480ml)
- Frozen corn kernels: 1 cup (150g) — no need to thaw
- Black beans (canned): 1 can (15 oz / 425g), drained and rinsed
- Olive oil or vegetable oil: 1 tablespoon
- Fresh cilantro: ¼ cup, chopped (for finishing)
- Lime: 1, cut into wedges
- Shredded Mexican cheese blend: ½ cup (56g), for topping
Equipment
- 12-inch cast iron skillet or heavy-bottomed sauté pan with lid: Lodge 12-Inch Cast Iron Skillet — cast iron retains heat evenly and develops the best rice crust at the bottom. A heavy stainless pan works but requires more careful heat management.
- Instant-read thermometer: for checking beef doneness
- Wooden spoon or spatula
- Fine-mesh strainer (for rinsing beans and rice)
Prep Work
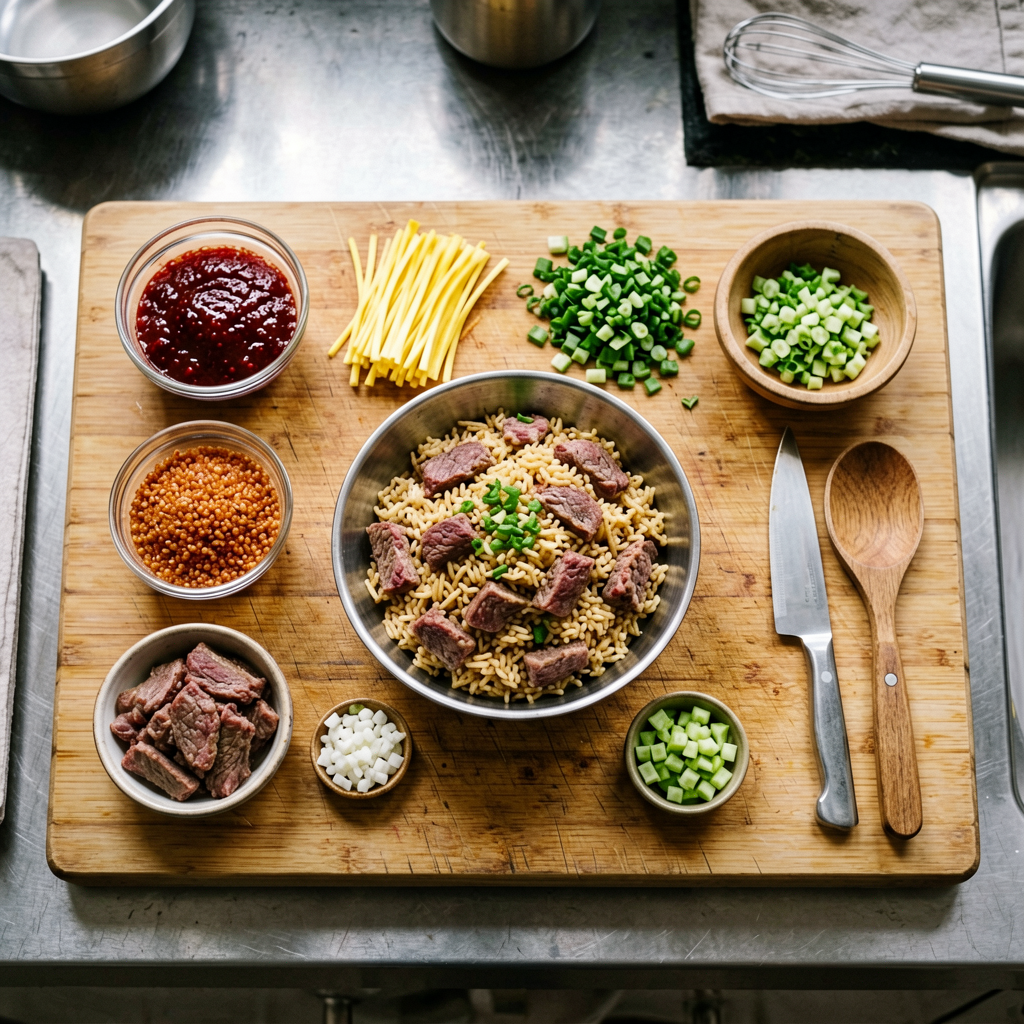
Rice: Rinse 1.5 cups of long-grain white rice under cold running water in a fine-mesh strainer until the water runs mostly clear, about 30–45 seconds. This removes excess surface starch that causes gumminess. Shake out as much water as possible and set aside. Room temperature or cold is fine here.
Vegetables: Dice your onion and bell pepper to a uniform ¼-inch size. Smaller pieces integrate better into the rice. Mince the garlic last — it oxidizes quickly, so keep it covered until you need it.
Spice blend: Measure your cumin, chili powder, smoked paprika, oregano, salt, and pepper into a small bowl and set aside. Pre-mixing means you add everything at once without fumbling with multiple jars mid-cook.
Beans and corn: Drain and rinse the black beans. Keep the frozen corn as-is — it goes in straight from the freezer.
Timing note: All prep can be done up to 24 hours ahead. Store prepped vegetables in airtight containers in the refrigerator. The spice blend can be mixed and kept at room temperature in a small jar.
Cooking Instructions
Step 1: Brown the Beef (5–6 minutes)
Place your 12-inch skillet over medium-high heat (around 400°F / 205°C on the surface). Add 1 tablespoon of oil. When the oil shimmers and just begins to smoke — about 1 minute — add the ground beef. Break it into large chunks with your wooden spoon. Let it sit undisturbed for 2 minutes to develop a deep brown crust on the bottom. Then flip and break into smaller pieces. Cook for another 3–4 minutes until the beef is well-browned throughout with no pink remaining. Internal temperature should read 160°F / 71°C.
What to watch for: Deep brown color = flavor. Gray beef = boiled beef. If the pan is too crowded or the heat too low, the beef will steam instead of sear. Work in batches if your pan is smaller than 12 inches.
Do not drain the fat. The rendered beef fat is your flavor base. If you have more than about 3 tablespoons of fat in the pan, spoon off the excess, but leave at least 2 tablespoons.
Step 2: Cook the Aromatics (3–4 minutes)
Push the beef to one side. Add the diced onion and bell pepper to the cleared space. Cook for 3–4 minutes, stirring occasionally, until the onions turn translucent and the peppers soften slightly. Then mix them into the beef. Add the minced garlic and cook for 30 seconds — just until fragrant. You will smell the garlic bloom; that’s your cue to move on. Garlic burns fast at this heat.
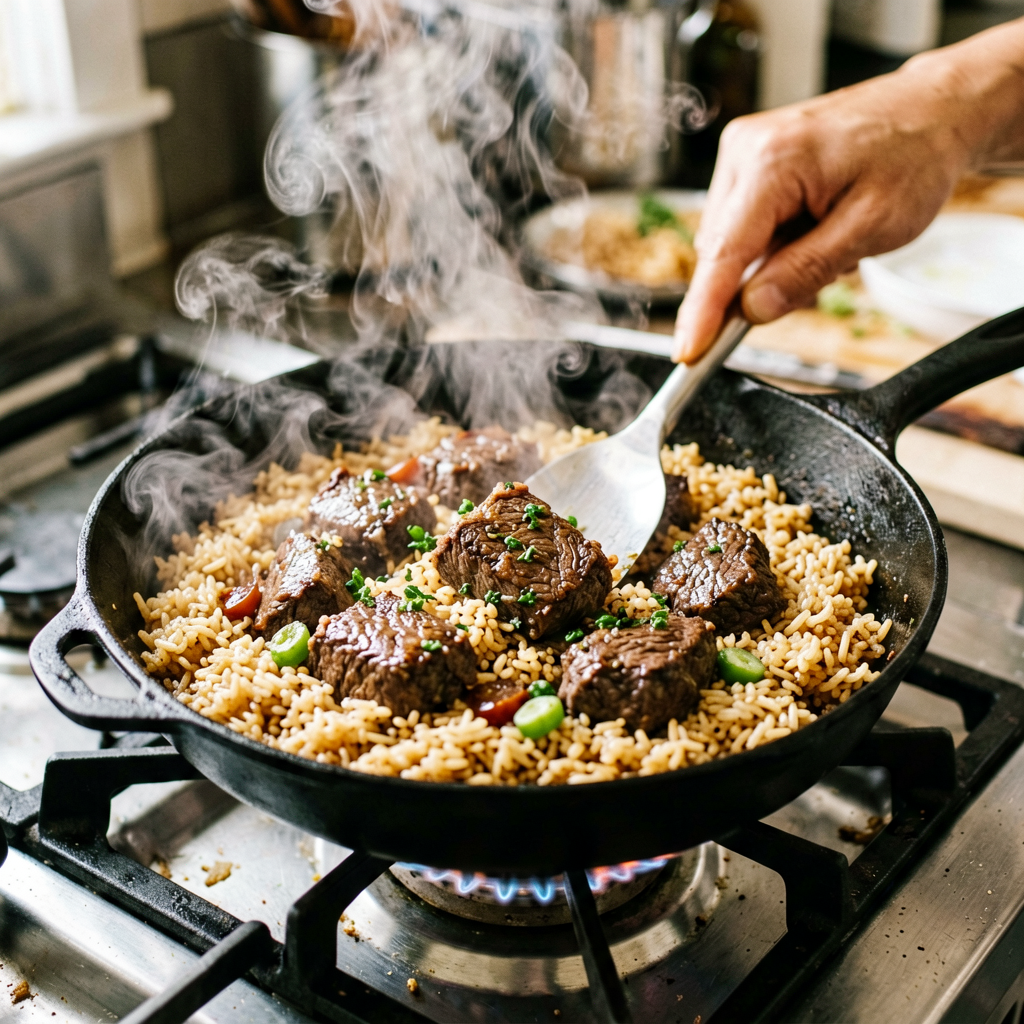
Step 3: Toast the Rice and Bloom the Spices (2 minutes)
Add the rinsed rice directly into the skillet with the beef and vegetables. Stir to coat the rice in the fat. Let it toast for 1–2 minutes — you’ll hear a faint crackling sound and the rice edges will turn slightly translucent. Add your pre-mixed spice blend and 2 tablespoons of tomato paste. Stir constantly for 30 seconds to toast the spices and caramelize the tomato paste. The mixture should turn a deep reddish-brown and become very fragrant.
Why this matters: Toasting rice in fat before adding liquid creates a nutty base flavor and helps each grain stay separate. Blooming spices in fat (rather than adding them to liquid) activates fat-soluble flavor compounds you’d otherwise miss.
Step 4: Add Liquid and Simmer (20–25 minutes)
Pour in the can of fire-roasted diced tomatoes (with their juice) and 2 cups of beef broth. Stir everything together, making sure nothing is stuck to the bottom of the pan. Bring the mixture to a boil over high heat. Once boiling, reduce heat to low (around 225°F / 107°C). Cover the skillet with a tight-fitting lid. Simmer for 20 minutes without lifting the lid.
Do not stir during this stage. Lifting the lid releases steam that’s actively cooking the rice. Stirring disrupts the formation of the coveted cuerito — the crispy rice crust on the bottom.
Step 5: Add Beans and Corn (5 minutes)
After 20 minutes, remove the lid. The rice should have absorbed most of the liquid. Scatter the frozen corn and drained black beans over the top. Replace the lid and cook for 5 more minutes on low. The residual heat and steam will warm the beans and corn through.
Step 6: Rest and Finish (5 minutes)
Remove the skillet from heat. Keep the lid on and let it rest for 5 minutes. This allows the rice to finish absorbing any remaining moisture and the starches to set. After resting, remove the lid. Fluff gently with a fork — don’t stir aggressively or you’ll break the grains. Sprinkle ½ cup shredded Mexican cheese blend over the top. Cover for 1 minute to let the residual heat melt the cheese. Finish with fresh chopped cilantro and a squeeze of lime juice.
Visual check: The rice should be tender but not mushy. Each grain should be distinct. The bottom layer should have a golden-brown crust — this is your reward for not stirring. Use a spatula to lift sections and check.
Pro Tips
1. The Crust Is the Goal: In my experience, the best bites come from the bottom of the pan — the slightly crispy, caramelized rice layer. To achieve this, use cast iron, don’t stir during the simmer, and resist the urge to peek. This technique is identical to the Persian tahdig or the Cuban cucayo.
2. Spice Adjustments: If you want more heat, add ¼–½ teaspoon of cayenne pepper or a minced jalapeño in Step 2 with the aromatics. For a smokier flavor, substitute 1 chipotle pepper in adobo (minced) for half the chili powder.
3. Beef Alternatives: Ground turkey works, but use 93/7 lean and add 1 extra tablespoon of oil since turkey lacks beef fat. You can also use thinly sliced flank steak or skirt steak — sear it first, remove, cook the rice, and slice it thin to serve on top.
4. Make-Ahead Strategy: This dish reheats well. Store in an airtight container for up to 4 days. To reheat, add a splash of broth, cover, and warm over medium-low heat for 5–7 minutes. The microwave works too — add a damp paper towel over the top and heat in 90-second intervals.
5. Rice Substitution: In my experience, converted (parboiled) rice works even better than long-grain white — it’s more forgiving and virtually impossible to overcook.
Serving Suggestions
- Portions: This recipe serves 4–6 people. A generous portion is about 1.5 cups per person.
- Side dishes: Serve with a simple side salad of shredded lettuce, sliced radishes, and a drizzle of lime vinaigrette. Warm flour tortillas on the side are ideal for scooping.
- Toppings bar: Set out sour cream, sliced avocado, pickled jalapeños, pico de gallo, and hot sauce so everyone can customize their bowl.
- Beverage pairing: A crisp Mexican lager or a cold agua fresca (horchata or jamaica) complements the bold flavors without competing.
FAQ
Can I use frozen rice?
Yes, but add it in Step 4 and extend the simmer time by 5 minutes. Frozen rice is already cooked, so the goal is just heating through and absorbing flavor. The texture will be slightly softer than freshly cooked rice.
How do I know when the rice is done?
At the 20-minute mark, test a grain by pressing it between your fingers. It should be tender with no hard, chalky center. If it’s still crunchy, add ¼ cup more broth, replace the lid, and cook for 5 more minutes.
Can I prep this ahead?
Absolutely. Cook the entire dish, cool it, and refrigerate for up to 4 days. The flavors actually improve overnight. You can also prep all ingredients (dice vegetables, measure spices, rinse rice) up to 24 hours ahead and store them separately.
<
发表回复