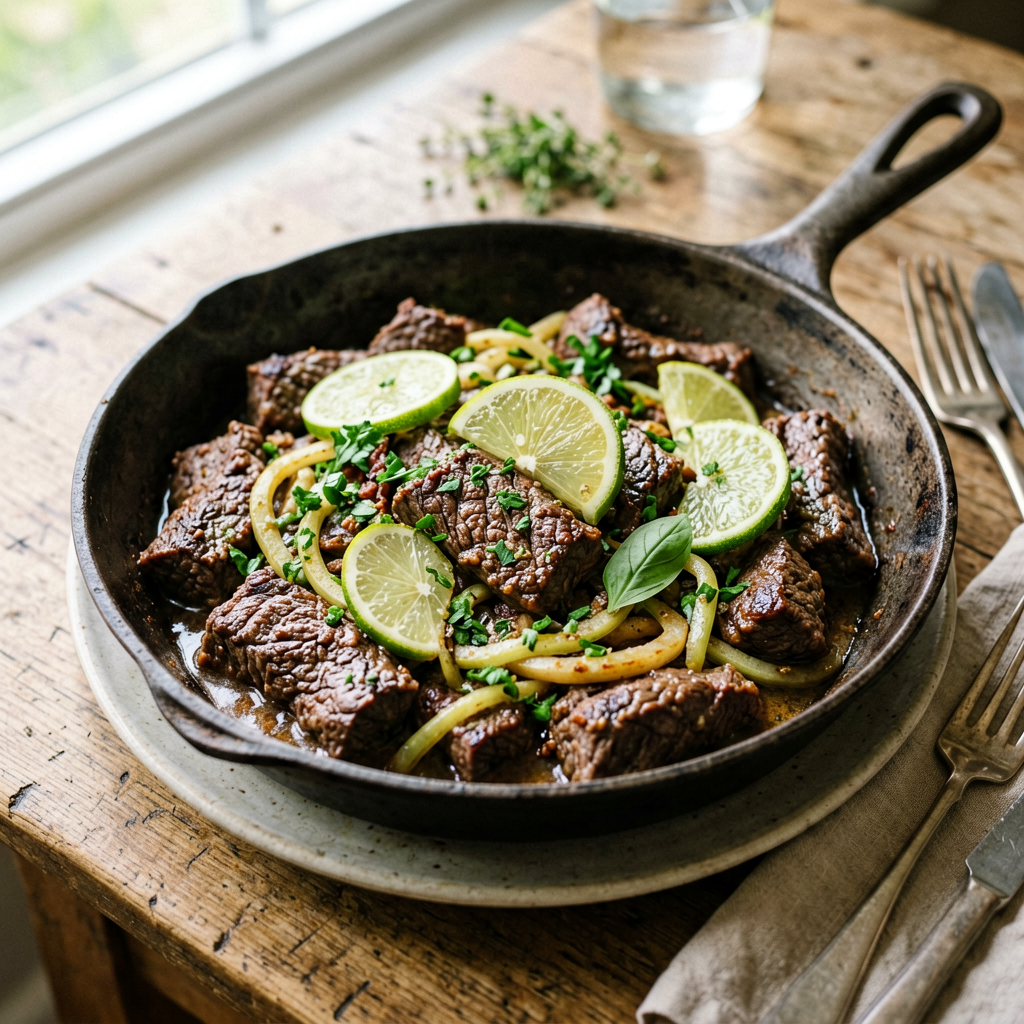
Sheet Pan Beef Stir Fry with Lemon Herb: The Ultimate One-Pan Weeknight Dinner
This recipe reimagines the classic stir-fry for the modern home cook. By utilizing the intense, ambient heat of a sheet pan in the oven, we achieve a beautiful sear on the beef and tender-crisp vegetables with minimal effort and cleanup. The star is a bright, herbaceous lemon sauce that ties everything together, creating a balanced dish that’s both sophisticated and incredibly simple. This is a foolproof method for achieving deep flavor and perfect texture, requiring basic oven and knife skills. It’s designed for a busy weeknight but impressive enough for company.
What You’ll Need
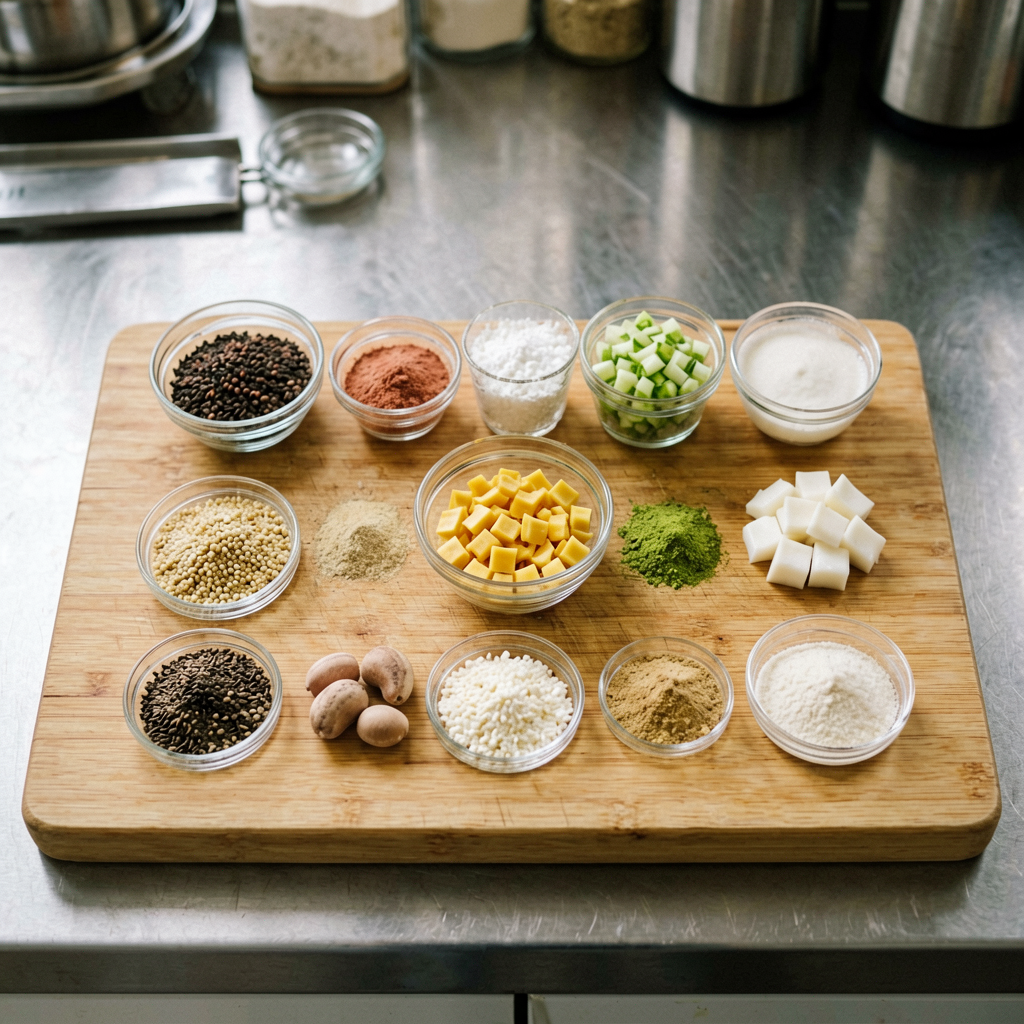
Ingredients
- Beef: 1.5 pounds (680g) flank steak or sirloin steak, trimmed of excess fat
- Vegetables:
- 4 cups (about 500g) broccoli florets, cut into bite-sized pieces
- 2 medium bell peppers (any color), seeded and sliced into 1-inch strips
- 1 large red onion, sliced into ½-inch wedges
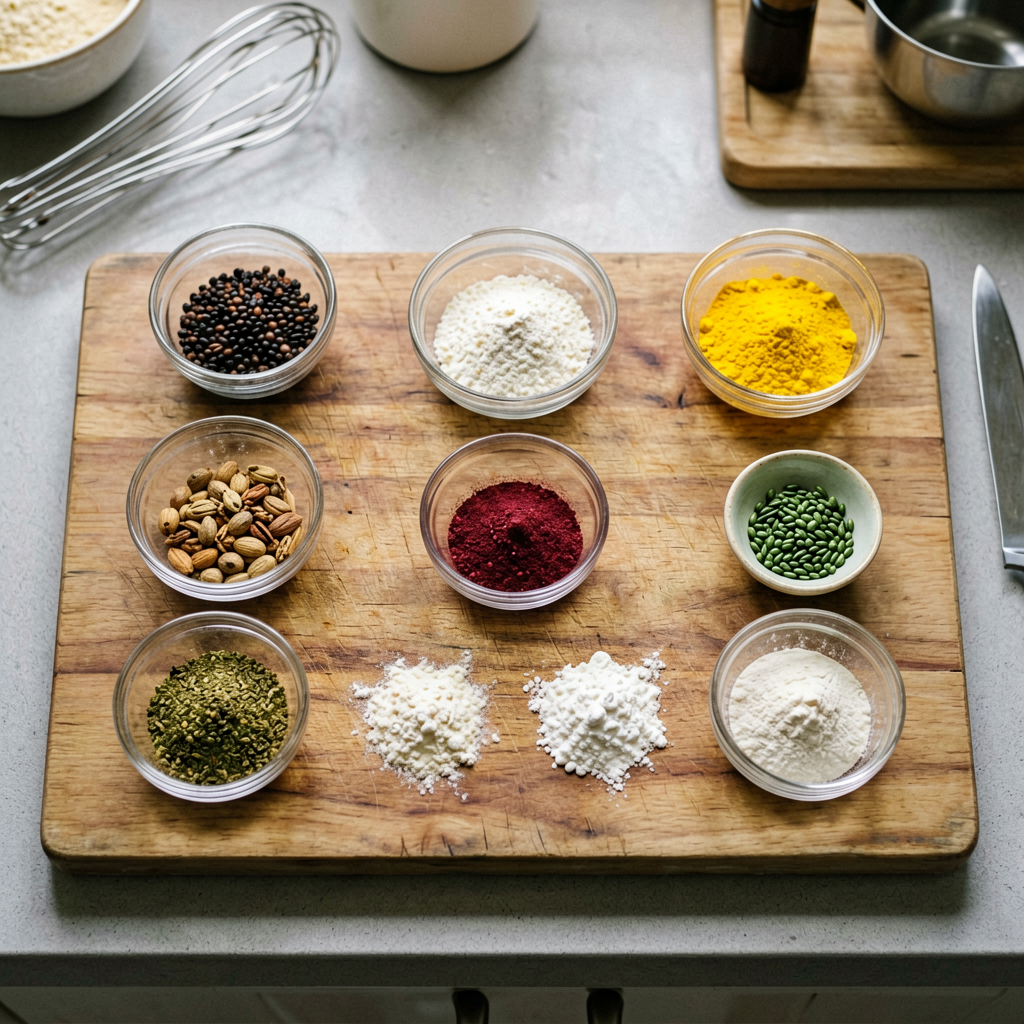
- For the Lemon Herb Marinade & Sauce:
- ⅓ cup (80ml) extra virgin olive oil
- ¼ cup (60ml) fresh lemon juice (from 1-2 lemons)
- 3 cloves garlic, finely minced
- 2 tablespoons fresh rosemary, finely chopped
- 1 tablespoon fresh thyme leaves
- 1 teaspoon dried oregano
- 1 teaspoon honey or maple syrup
- 1 teaspoon kosher salt
- ½ teaspoon freshly ground black pepper
- ¼ teaspoon red pepper flakes (optional, for heat)
- For Finishing:
- 2 tablespoons fresh parsley, chopped
- Lemon zest from 1 lemon
Equipment Needed
- Large Rimmed Sheet Pan: A standard half-sheet pan (18×13 inches) is ideal. Using a large pan is crucial to avoid overcrowding.
- Large Mixing Bowl
- Sharp Chef’s Knife
- Measuring Cups and Spoons
- Instant-Read Thermometer (Recommended): The most reliable tool for perfect doneness.
- (Optional) Check Price on Amazon] for a high-quality rimmed baking sheet set
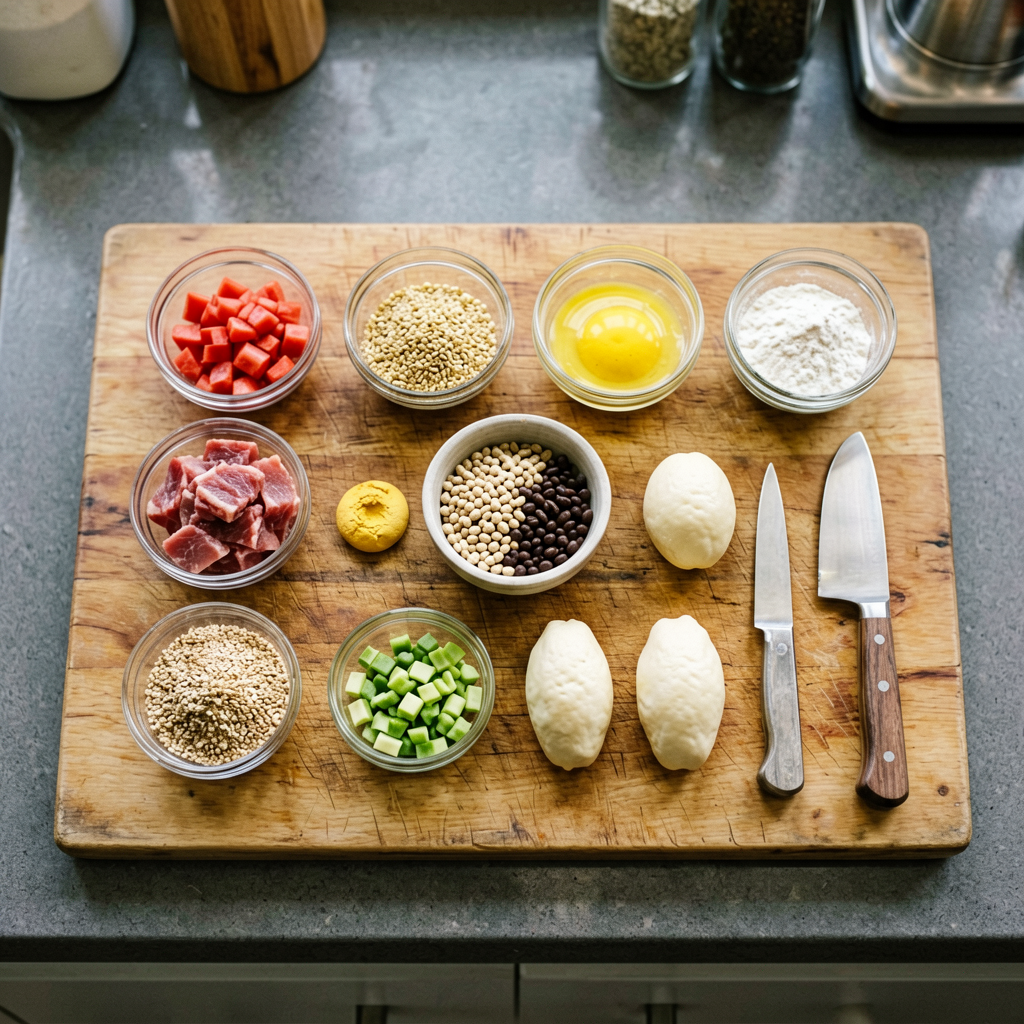
Prep Work
Critical Step: Proper preparation ensures even cooking and maximum flavor development. This prep can be done up to 24 hours in advance if you marinate the beef.
- Prep the Beef: Place the steak on a cutting board. To ensure tender bites, slice it against the grain (perpendicular to the direction the muscle fibers run) into ¼-inch thick slices. Cut slices into bite-sized pieces (roughly 2×2 inches). Place the sliced beef in a large mixing bowl.
- Make the Marinade: In a separate small bowl, whisk together the olive oil, lemon juice, minced garlic, rosemary, thyme, oregano, honey, salt, pepper, and red pepper flakes (if using). Pro Tip: Reserve 2 tablespoons of this mixture in a small dish to use as a finishing sauce later.
- Marinate the Beef: Pour the remaining marinade (all but the 2 tablespoons) over the sliced beef. Toss thoroughly to coat every piece. Let it sit at room temperature for 20 minutes while you prep the vegetables, or cover and refrigerate for up to 24 hours. In my experience, the acid in the lemon juice begins to tenderize the meat almost immediately.
- Prep the Vegetables: Prepare the broccoli, bell peppers, and red onion as described in the ingredient list. Keep the vegetables in separate piles for now. Do not mix them with the beef yet.
Cooking Instructions
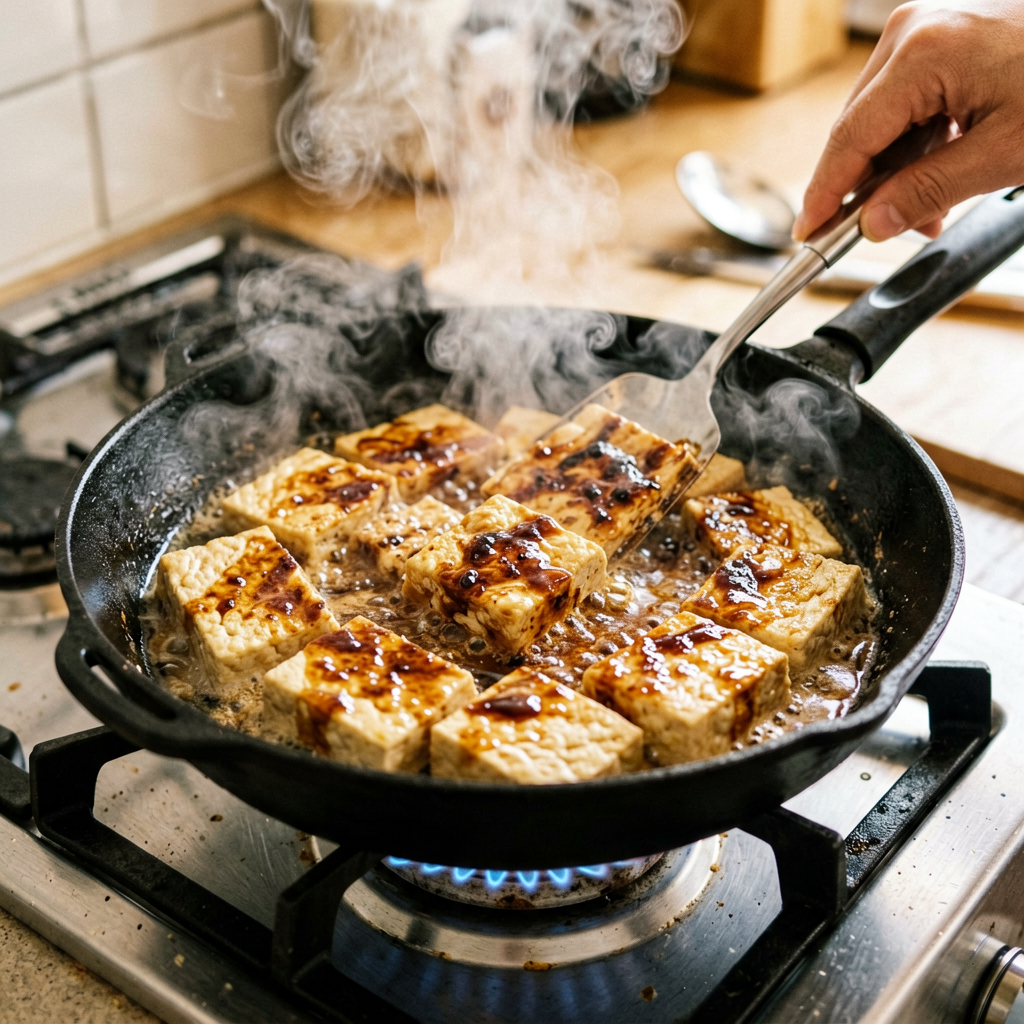
- Preheat the Oven and Sheet Pan: Position an oven rack in the upper third of the oven. Preheat the oven to 425°F (220°C). Place the empty rimmed sheet pan in the oven as it preheats. Why this matters: Starting with a screaming hot pan is the secret to getting a sear on the beef instead of steaming it.
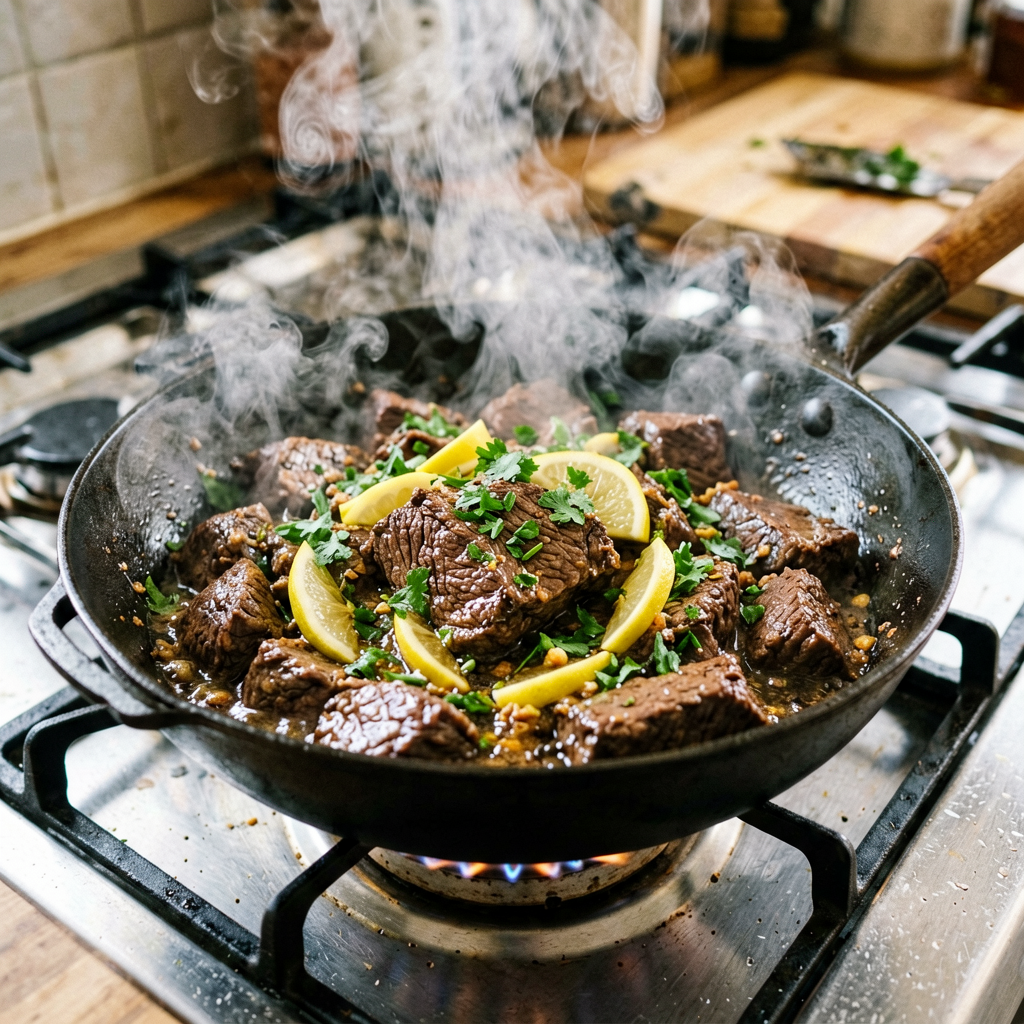
- Combine Ingredients: Once the oven is preheated, carefully remove the hot sheet pan using oven mitts. Drizzle the pan with 1 tablespoon of neutral oil (like avocado or canola). Immediately add the marinated beef and all its marinade to the pan. Add the prepared broccoli, bell peppers, and red onion on top. Quickly drizzle the vegetables with the 2 tablespoons of reserved marinade and toss everything together directly on the hot pan. Spread it into a single, even layer. You should hear a loud, satisfying sizzle. Work quickly and use tongs for safety.
- Roast to Perfection: Place the sheet pan back in the oven. Roast for 12 minutes. Then, use tongs or a spatula to stir and flip the ingredients, ensuring even browning. Return to the oven and roast for another 3 to 6 minutes. The total cooking time will be 15 to 18 minutes. What to look for: The beef should be browned with some caramelized edges, and the vegetables should be tender with slightly charred, crisp-tender spots. The internal temperature of the beef should reach 135°F (57°C) for medium-rare or 145°F (63°C) for medium, which is ideal for these thin slices.
- Rest and Finish: Remove the pan from the oven. Immediately sprinkle the hot stir fry with the fresh parsley and lemon zest. Toss gently. Let it rest on the hot pan for 2-3 minutes. This allows the juices to redistribute throughout the meat.
- Serve: Transfer to a serving platter or serve directly from the pan. Offer extra lemon wedges on the side.
Pro Tips
- The Grain is Key: I can’t stress this enough—slicing against the grain is non-negotiable for tender beef. If you slice with the grain, you’ll end up with chewy, stringy pieces.
- Don’t Overcrowd: Use a 12×18 inch (half-sheet) pan. If you cram ingredients onto a smaller pan, they will steam and become soggy. If you double the recipe, use two pans on different oven racks.
- Vegetable Swap: This method works beautifully with other vegetables. Try asparagus spears, sliced zucchini, snap peas, or sliced carrots. Adjust cooking time based on the vegetable’s density—harder vegetables like carrots may need a few extra minutes.
- Make-Ahead Strategy: Slice the beef and chop the vegetables up to a day in advance. Store them separately in the refrigerator. Whisk the marinade together and store it in a jar. When ready to cook, combine and roast as directed.
Serving Suggestions
This stir fry is a complete, balanced meal on its own. For a more substantial family dinner, serve it over steamed jasmine rice, quinoa, or with a side of crusty bread to soak up the delicious pan juices. A simple side salad with a light vinaigrette complements the bold lemon-herb flavors perfectly. This recipe generously serves 4 people as a main course.
FAQ
- Can I use frozen beef or vegetables?
You can use frozen vegetables, but do not thaw them first. Add them directly to the pan with the cold, marinated beef. This may increase the overall cooking time by 3-5 minutes. For the beef, it’s best to use fresh. If using frozen, thaw it completely in the refrigerator overnight, pat it very dry with paper towels before slicing and marinating.
- How do I know when it’s done without a thermometer?
Look for visual cues: the beef slices should be uniformly browned on the outside with no pink showing on the surface. Press a piece with tongs—it should feel firm but still have a little spring. For best results, especially if new to cooking beef, I highly recommend an [instant-read thermometer]. It eliminates guesswork.
- Can I prep this ahead for a party?
Absolutely. Follow the “Make-Ahead Strategy” in the Pro Tips. You can have everything prepped and marinating. When guests arrive, simply combine on the hot sheet pan and roast. The active cooking time is less than 20 minutes, making it a stress-free meal to serve.
*As an Amazon Associate I earn from qualifying purchases.*