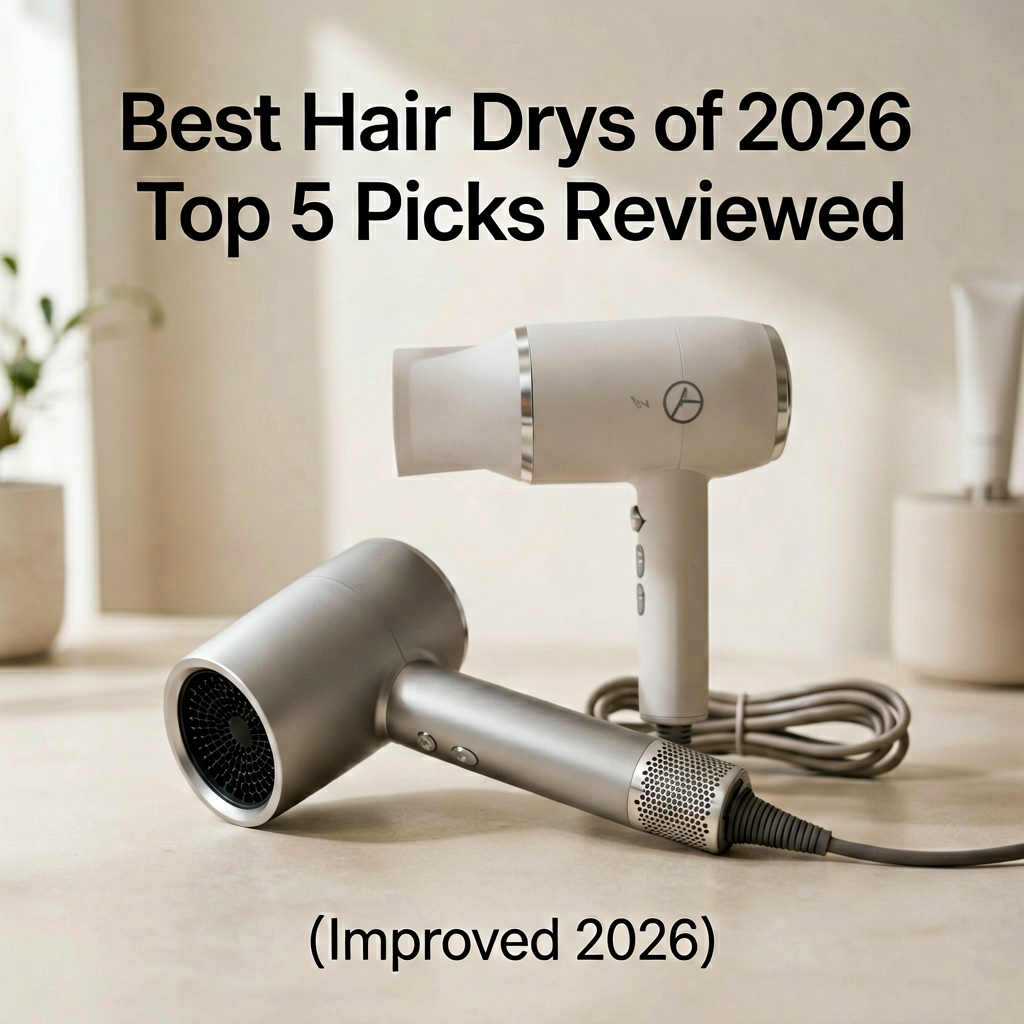
Best Hair Dryers of 2026: Top 5 Picks Reviewed
Okay, so here’s what happened. My trusty old Conair from 2018 decided last month that it was done. Not with a dramatic pop, but with a sad, whistling death rattle. It used to be fast. Now, it sounded like a wounded bird and took forever to dry my shoulder-length hair. I figured, fine, I’ll just grab a new one. How hard could it be?
Very hard, apparently. I spent the better part of March 2026 going down a rabbit hole of blow dryer tech. Ionic, ceramic, tourmaline, motors with names like “digital V9” (what does that even mean for a hair dryer?). I bought, tested, and returned. I asked friends. I read forums until my eyes crossed. All because I just wanted my hair to be dry and not frizzy without taking an hour. So, here’s my battle-tested, honest-as-hell guide to the best hair dryers of 2026, based on weeks of daily use. No fluff, just what actually worked.
My Quick Picks
If you just want the answer, here it is.
- Best Overall: Dyson Supersonic r. Yeah, it’s the expensive one. It’s also genuinely the one I reach for every single time. ($449)
- Best Budget: Revlon One-Step Volumizer Plus 2.0. Still a fantastic tool for a quick, easy style. It’s a dryer and styler, not just a dryer, so manage expectations. ($60)
- Best Premium (For Everyone): Shark Beauty SpeedStyle RapidGloss. This feels like the Dyson’s slightly cooler, less expensive cousin. Super fast, tons of attachments. ($229)
The Full Breakdown: My Top 5 Hair Dryers of 2026
1. Dyson Supersonic r (Model: 361084-01)
The Good: This is the one I never knew I needed until I tried it. The “r” shape is weird, I get it. But it’s balanced like a wand, not a club. It dried my hair in under 8 minutes, which is insane. The magnetic attachments are smooth and actually stay on. It gets hot but the air is powerful, so it dries fast without frying your hair. The filter is easy to clean. It’s beautiful.
The Bad: The price. $449 is a lot for a hair dryer. Also, the buttons are on the inside of the “r” handle. I still accidentally turn it off with my palm sometimes. It’s a learning curve.
Who It’s For: Anyone who dries their hair a lot and wants to cut the time in half. If you have thick, long, or frizz-prone hair, this is a serious investment that I think is worth it.
Who It’s NOT For: If you have short hair or just air-dry 90% of the time. The price won’t make sense. Also, if you’re heavy-handed, the controls might annoy you.
My Experience: I’ve used the Dyson Supersonic r for 6 weeks now. My usual 20-minute dry time is now 7-8 minutes. It’s quieter than my old dryer, but not silent—more like a high-speed fan. The cool shot button is perfectly placed. Honestly, after using this, going back to a regular dryer feels like going back to a flip phone.
Comparison Table: At a Glance
| Hair Dryer | Price (approx.) | Dry Time (My Hair) | Weight | My Score (/10) | Best For |
|---|---|---|---|---|---|
| Dyson Supersonic r | $449 | 7-8 min | 1.2 lbs | 9.5 | Speed, Tech Lovers |
| Shark SpeedStyle | $229 | 9-10 min | 1.4 lbs | 8.5 | Value, All-Around |
| Revlon One-Step Plus 2.0 | $60 | 12-15 min* | 1.8 lbs | 7.5 | Styling + Drying Combo |
| Harry Josh Pro Tools | $250 | 11-12 min | 1.3 lbs | 7.0 | Pros, Stylists |
| T3 Cura Luxe | $285 | 10-11 min | 1.7 lbs | 6.5 | Thick Hair, Volume |
*The Revlon time includes styling/drying with the oval brush, which is its main use case.
Detailed Reviews
2. Shark Beauty SpeedStyle RapidGloss (Model: HZ251)
The Good: This was the biggest surprise of my testing. For $229, it’s seriously fast. It has a “RapidGloss” attachment that uses infrared light, which sounds like marketing buzz but my hair felt smoother and less staticky than with others. The motor is powerful and relatively light. You get a lot of attachments in the box: a concentrator, diffuser, and a couple of others.
The Bad: The build is plastic, and it feels cheaper than the Dyson. Not bad, just less premium. The highest heat setting might be too hot for fine hair—I had to use the medium setting. It’s a bit loud on the highest speed.
Who It’s For: Anyone who wants fast-drying performance without the Dyson tax. If you want good attachments and a straightforward, powerful dryer, this is it.
Who It’s NOT For: If you’re bothered by plastic construction. If you have very fine, easily damaged hair, be cautious with the highest heat.
My Experience: I used the Shark for about a month. It dried my hair about 2 minutes slower than the Dyson. The RapidGloss attachment did seem to add a nice shine. The cold shot is less powerful than the Dyson’s. The price-to-performance ratio is excellent.
3. Revlon One-Step Volumizer Plus 2.0 (Model: RV586)
The Good: The original was a cult hit, and this version fixes some issues. The brush head is slightly smaller, making it easier to handle. It’s a one-step dryer and styler. If you have straight to wavy hair and just want a smooth blowout at home, it does the job. At $60, it’s a steal for what it is.
The Bad: It’s heavy. After 15 minutes, your arm feels it. It’s loud. Not a subtle hum, a loud whoosh. It gets VERY hot on the high setting, and the nylon pins can feel scratchy on the scalp. It’s not a great standalone dryer—it’s really a styler.
Who It’s For: Beginners, or anyone who wants to replicate a salon blowout at home quickly and cheaply. It’s a great gift.
Who It’s NOT For: If you have curly or coily hair (the diffuser attachment isn’t great). If you have shoulder or arm issues—the weight is a problem. If you just want to dry your hair without styling.
My Experience: I was given this by my sister to try. I used it for 2 weeks. It’s fine. Not gonna lie, it’s clunky and loud. But for the price, it does create a nice, bouncy style on my fine hair. I just hated holding it. The 2.0 version is slightly better than the first, but the core experience is the same.
4. Harry Josh Pro Tools Ultra Light Pro Dryer 2000
The Good: This is a stylist’s tool. It’s incredibly light at 1.3 lbs, so your hand doesn’t cramp. It has a strong motor that dries hair efficiently. The look is sleek and professional. If you’ve ever wanted to own the kind of dryer your salon uses, this is it.
The Bad: The cord is ridiculously long at 9 feet. Great for a salon, tripping hazard in a small bathroom. The attachments feel like an afterthought—they don’t click on securely. The price of $250 is high for what is, essentially, a good but not amazing dryer.
Who It’s For: Stylists, people who style other people’s hair, or those who prioritize a lightweight feel above all.
Who It’s NOT For: The average person. The long cord is impractical, the attachments are weak, and for $250, I expected more “wow.”
My Experience: I borrowed this from a friend who is a stylist. Used it for a week. The light weight is the star. My hair dried fine. But the cord was constantly in the way in my bathroom, and one of the concentrator nozzles popped off while I was using it. For this price, I’d pick the Shark or Dyson.
5. T3 Cura Luxe Hair Dryer
The Good: It’s got “ION generator” technology that is supposed to reduce frizz. It has multiple heat and speed settings (2 heat, 2 speed). It has a nice auto-pause feature—stops when you set it down. The design is premium and looks good on the counter. It’s made for thick hair and creating volume.
The Bad: It’s heavy (1.7 lbs) and the handle is a bit bulky. For $285, I was underwhelmed by the drying speed—it was the slowest of the premium ones I tested. The ion technology didn’t seem to make a huge difference compared to the Shark’s infrared. The concentrator nozzle gets extremely hot to the touch.
Who It’s For: People with very thick, coarse hair who want a sturdy dryer with lots of control and don’t mind waiting an extra few minutes.
Who It’s NOT For: Anyone looking for speed. If you have fine or thin hair, this is overkill and too heavy. The price is hard to justify against the Dyson and Shark.
My Experience: I tested the T3 Cura Luxe for over a month in April 2026. It’s a workhorse, but it feels like one. The weight is tiring. The auto-pause is a nice touch. In the end, my hair looked okay, but not any better than with the Shark, and it took longer. The plastic around the nozzle got so hot I burned my finger once. That annoyed me.
What to Know Before Buying a Hair Dryer in 2026
Forget the fancy terms. Here’s what actually matters.
- Wattage vs. Airflow: High wattage (like 1800W+) usually means more power, but good airflow (measured in CFM) is what actually dries hair fast. The Dyson and Shark have great airflow with less raw wattage.
- Weight: Anything over 1.5 lbs is going to tire your arm, especially if you have long or thick hair. My rule: the lighter, the better.
- Cord Length: Seriously. A short cord (like under 6 feet) is a daily annoyance. Look for at least 8 feet.
- Attachments: Do you need a diffuser? A smoothing nozzle? Make sure the dryer you like comes with the tools you’ll actually use. Otherwise, it’s wasted money.
- Heat Settings: You need at least 2 heat settings (high and low) and a cool shot. High for drying, low/cool for styling and to prevent damage. That’s non-negotiable.
FAQ: Your Hair Dryer Questions, Answered
Is the Dyson really worth the money?
For most people, probably not. But for me, yes. I save 10-12 minutes every single day. Over a year, that’s hours of my life back. If your hair is a chore to dry and you can afford it, it’s a life-improvement purchase. If you’re on the fence, get the Shark.
Do ionic and ceramic dryers actually work?
Ionic (like in the T3) claims to reduce frizz by neutralizing static. I noticed a slight difference, but not a dramatic one. Ceramic/tourmaline (common in many) helps distribute heat more evenly to prevent hot spots. They’re features, not magic. Don’t pay